Ripple Shader
A website animation tutorial featuring a ripple shader effect using React Three Fiber, Next.js and React. Inspired by https://homunculus.jp/ and Yuri Artiukh.

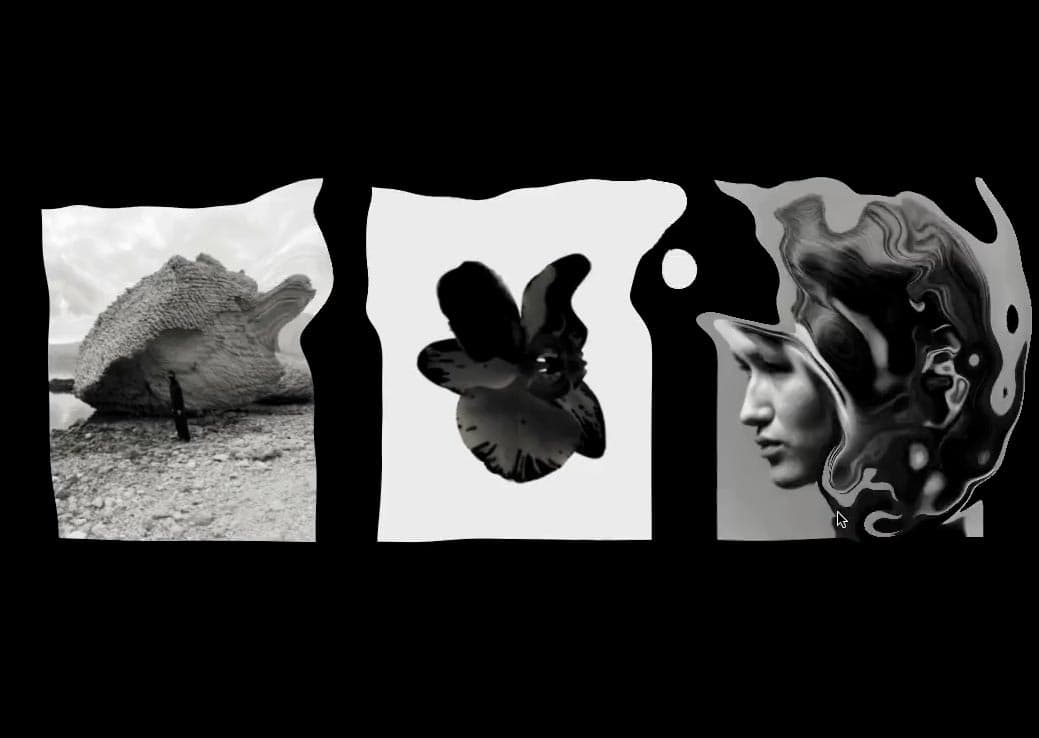
Mask Section Transition
New
Background Image Parallax
New
Text Parallax
New
Sticky Footer
Perspective Section Transition
Text Along Path
SVG Path On Scroll
Horizontal Section
Zoom Parallax
Parallax Scroll
Horizontal Scroll
Text Gradient Scroll Opacity v2
Cards Parallax
3D perspective Scroll
SVG Mask Scroll
Smooth Parallax Scroll
Smooth Scroll
Pixel Transition
SVG Morph
Sliding Stairs Menu
Floating Image Gallery
Project Gallery Mouse Hover
Text Gradient Opacity On Scroll
Svg Curve Loading
Text Clip Mask On Scroll
Image slide project gallery
Mouse Image Gallery
Pixel Cursor Trailing
Text Mask Animation
3D Perspective Text
Project Gallery Colored Card
Cartoon Cursor Trailing

Olivier Larose
October 17, 2023
/
Intermediate
/
Medium
A web animation tutorial that showcases how to create a 3D float effect using Three.js inside a Next.js application. The float is made with React Three Drei and Framer Motion.
Live DemoSource codeVideo Tutorial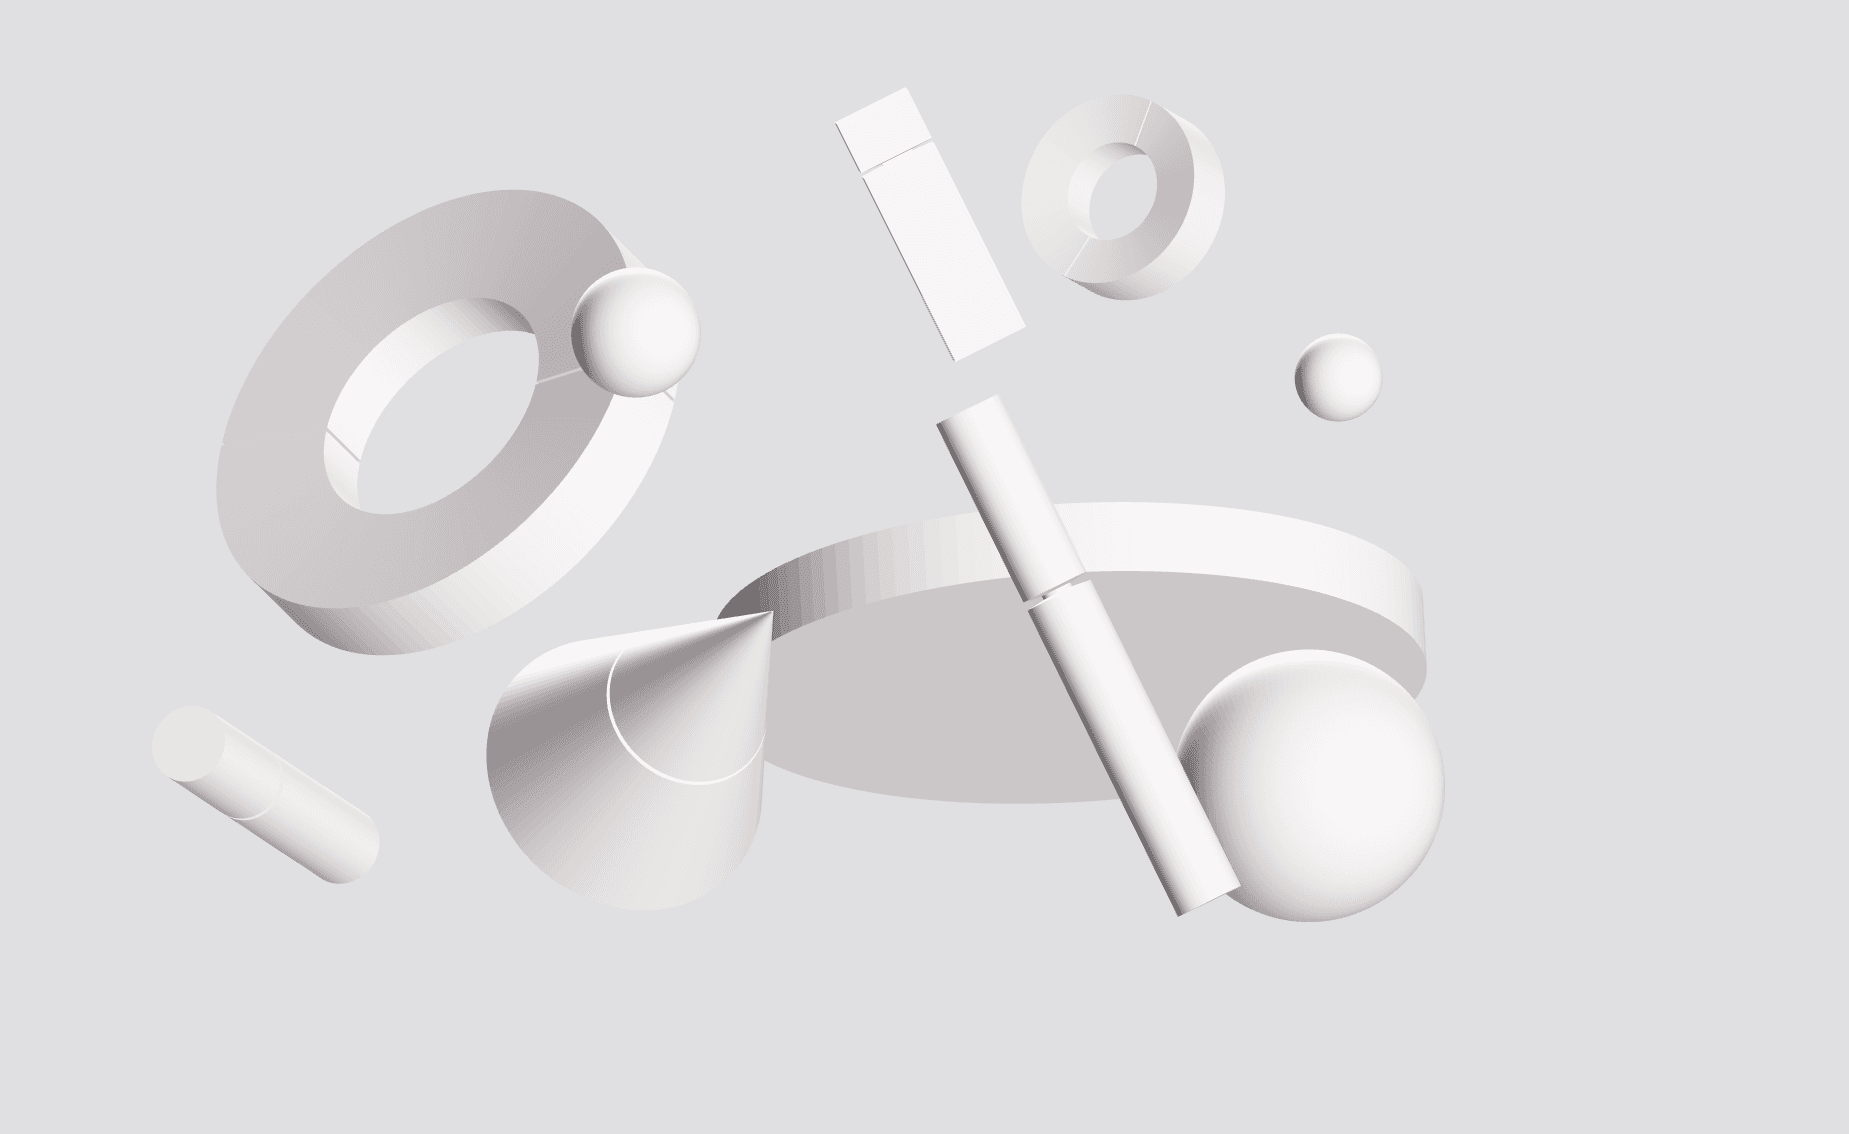
Let's start the project by creating a Next.js application. We can do that by running npx create-next-app@latest client inside of a terminal.
We can delete everything in the page.js , global.css and page.module.css and add our own HTML and CSS, to start with a nice blank application.
npm i framer-motion.npm i framer-motion-3d.npm i @react-three/fiber.npm i @react-three/drei.page.js
page.mod...
1
import styles from './page.module.css'2
import FloatingShape from '../components/floatingShape';3
4
export default function Home() {5
return (6
<main className={styles.main}>7
<FloatingShape />8
</main>9
)10
}
I made those shapes using Blender, but you can use any 3D modeling tool that can export a file in (.GLB) format.

Once your scene is created inside a 3D software, all you we have to do is export it in (.GLB). After that, we can extract the nodes which come with all the necessary attributes to position them correctly.
First I initialze a Canvas from react-three-fiber and I also import a utility function called environment from react-three-drei.
components/FloatingShapes/index.jsx
1
'use client';2
import React from 'react'3
import { Canvas } from '@react-three/fiber'4
import Model from './Model';5
import { Environment } from '@react-three/drei'6
7
export default function Index() {8
9
return (10
<Canvas style={{background: "#e0e0e2"}} orthographic camera={{position: [0, 0, 200], zoom: 10}}>11
<Model/>12
<Environment preset="studio"/>13
</Canvas>14
)15
}
Here I basically extract all the nodes from the GLB file.
components/FloatingShapes/Model.jsx
1
import React from "react";2
import { useGLTF } from "@react-three/drei";3
import { motion } from 'framer-motion-3d';4
5
export default function Model() {6
7
const { nodes } = useGLTF("/medias/floating_shapes4.glb");8
return (9
<group>10
<Mesh node={nodes.Sphere001}/>11
<Mesh node={nodes.Sphere002}/>12
<Mesh node={nodes.Cylinder002}/>13
<Mesh node={nodes.Sphere003}/>14
<Mesh node={nodes.Cylinder003}/>15
<Mesh node={nodes.Cylinder005}/>16
<Mesh node={nodes.Cube002}/>17
<Mesh node={nodes.Cylinder006}/>18
<Mesh node={nodes.Cylinder007}/>19
<Mesh node={nodes.Cylinder009}/>20
<Mesh node={nodes.Sphere}/>21
</group>22
);23
}24
25
useGLTF.preload("/medias/floating_shapes4.glb");26
27
function Mesh({node}) {28
const { geometry, material, position, scale, rotation } = node;29
30
return (31
<motion.mesh32
castShadow={true}33
receiveShadow={true}34
geometry={geometry}35
material={material}36
position={position}37
rotation={rotation}38
scale={scale}39
/>40
)41
}

To add a basic float effect, it's actually very easy with the help of a utilitary function called Float from react-three-drei.
components/FloatingShapes/Model.jsx
1
export default function Model() {2
3
const { nodes } = useGLTF("/medias/floating_shapes4.glb");4
return (5
<Float>6
<group>7
<Mesh node={nodes.Sphere001}/>8
<Mesh node={nodes.Sphere002}/>9
...10
</group>11
</Float>12
);13
}
Now of course we need to add a little spice to that animation. Right now it's a vanilla float. An effect that everyone can have by simply using a utility function. To enhance the effect and make it a big more unique, I'll use Framer-Motion to rotate and translate the shapes on mouse move.
components/FloatingShapes/index.jsx
1
...2
import React, { useEffect } from 'react'3
import { useMotionValue, useSpring } from "framer-motion"4
5
export default function Index() {6
7
const mouse = {8
x: useMotionValue(0),9
y: useMotionValue(0)10
}11
12
const smoothMouse = {13
x: useSpring(mouse.x, {stiffness: 75, damping: 100, mass: 3}),14
y: useSpring(mouse.y, {stiffness: 75, damping: 100, mass: 3})15
}16
17
const manageMouse = e => {18
const { innerWidth, innerHeight } = window;19
const { clientX, clientY } = e;20
const x = clientX / innerWidth21
const y = clientY / innerHeight22
mouse.x.set(x);23
mouse.y.set(y);24
}25
26
useEffect( () => {27
window.addEventListener("mousemove", manageMouse)28
return () => window.removeEventListener("mousemove", manageMouse)29
}, [])30
31
return (32
<Canvas style={{background: "#e0e0e2"}} orthographic camera={{position: [0, 0, 200], zoom: 10}}>33
<Model mouse={smoothMouse}/>34
<Environment preset="studio"/>35
</Canvas>36
)37
}
To enhance the float effect, I'll use Framer-Motion to transform the mouse position into new values. I'll use the useTransform hook for that.
I will basically modify 4 attributes on mouse move:
components/FloatingShapes/Model.jsx
1
import { useTransform } from 'framer-motion';2
import { motion } from 'framer-motion-3d';3
4
export default function Model({mouse}) {5
6
const { nodes } = useGLTF("/medias/floating_shapes4.glb");7
return (8
<Float>9
<group>10
<Mesh node={nodes.Sphere001} multiplier={2.4} mouse={mouse}/>11
<Mesh node={nodes.Sphere002} multiplier={2.4} mouse={mouse}/>12
<Mesh node={nodes.Cylinder002} multiplier={1.2} mouse={mouse}/>13
...14
</group>15
</Float>16
);17
}18
19
useGLTF.preload("/medias/floating_shapes4.glb");20
21
function Mesh({node, multiplier, mouse}) {22
const { geometry, material, position, scale, rotation } = node;23
const a = multiplier / 2;24
const rotationX = useTransform(mouse.x, [0,1], [rotation.x - a, rotation.x + a]);25
const rotationY = useTransform(mouse.y, [0,1], [rotation.y - a, rotation.y + a]);26
const positionX = useTransform(mouse.x, [0,1], [position.x - multiplier * 2, position.x + multiplier * 2]);27
const positionY = useTransform(mouse.y, [0,1], [position.y + multiplier * 2, position.y - multiplier * 2])28
return (29
<motion.mesh30
...31
rotation-y={rotationX}32
rotation-x={rotationY}33
position-x={positionX}34
position-y={positionY}35
/>36
)37
}38
Couple notes about the code above:
That's it for this animation!
I was super glad to discover how easy it is to create a float effect. And by adding a little bit of asymetry with Framer-Motion I'm satisfied with the result. Hope you learned something!
-Oli
April 21, 2024
A website animation tutorial featuring a ripple shader effect using React Three Fiber, Next.js and React. Inspired by https://homunculus.jp/ and Yuri Artiukh.

April 21, 2024
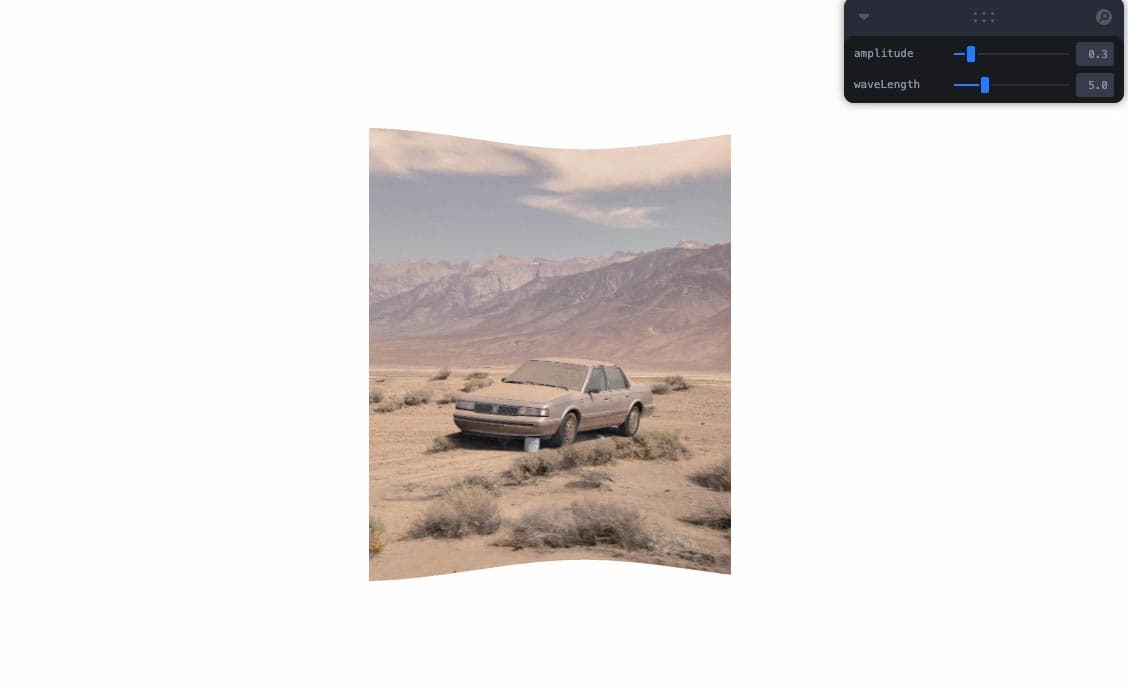
A website tutorial featuring a bulge distortion animation, made with a shader in GLSL, using React Three Fiber, Next.js and React.
April 18, 2024
A website animation tutorial featuring a vertex shader with a wave animation applied on a plane. Made with React-three-fiber, Framer Motion and Next.js