Initializing the project
Let's start the project by creating a Next.js application. We can do that by running npx create-next-app myApp inside of a terminal.
Managing the medias
- Let's add a .mp4 video inside a new
/public/images. - Let's also add an SVG that will mask the video. We will also put it inside the
/public/images. - You can find everything I used here.
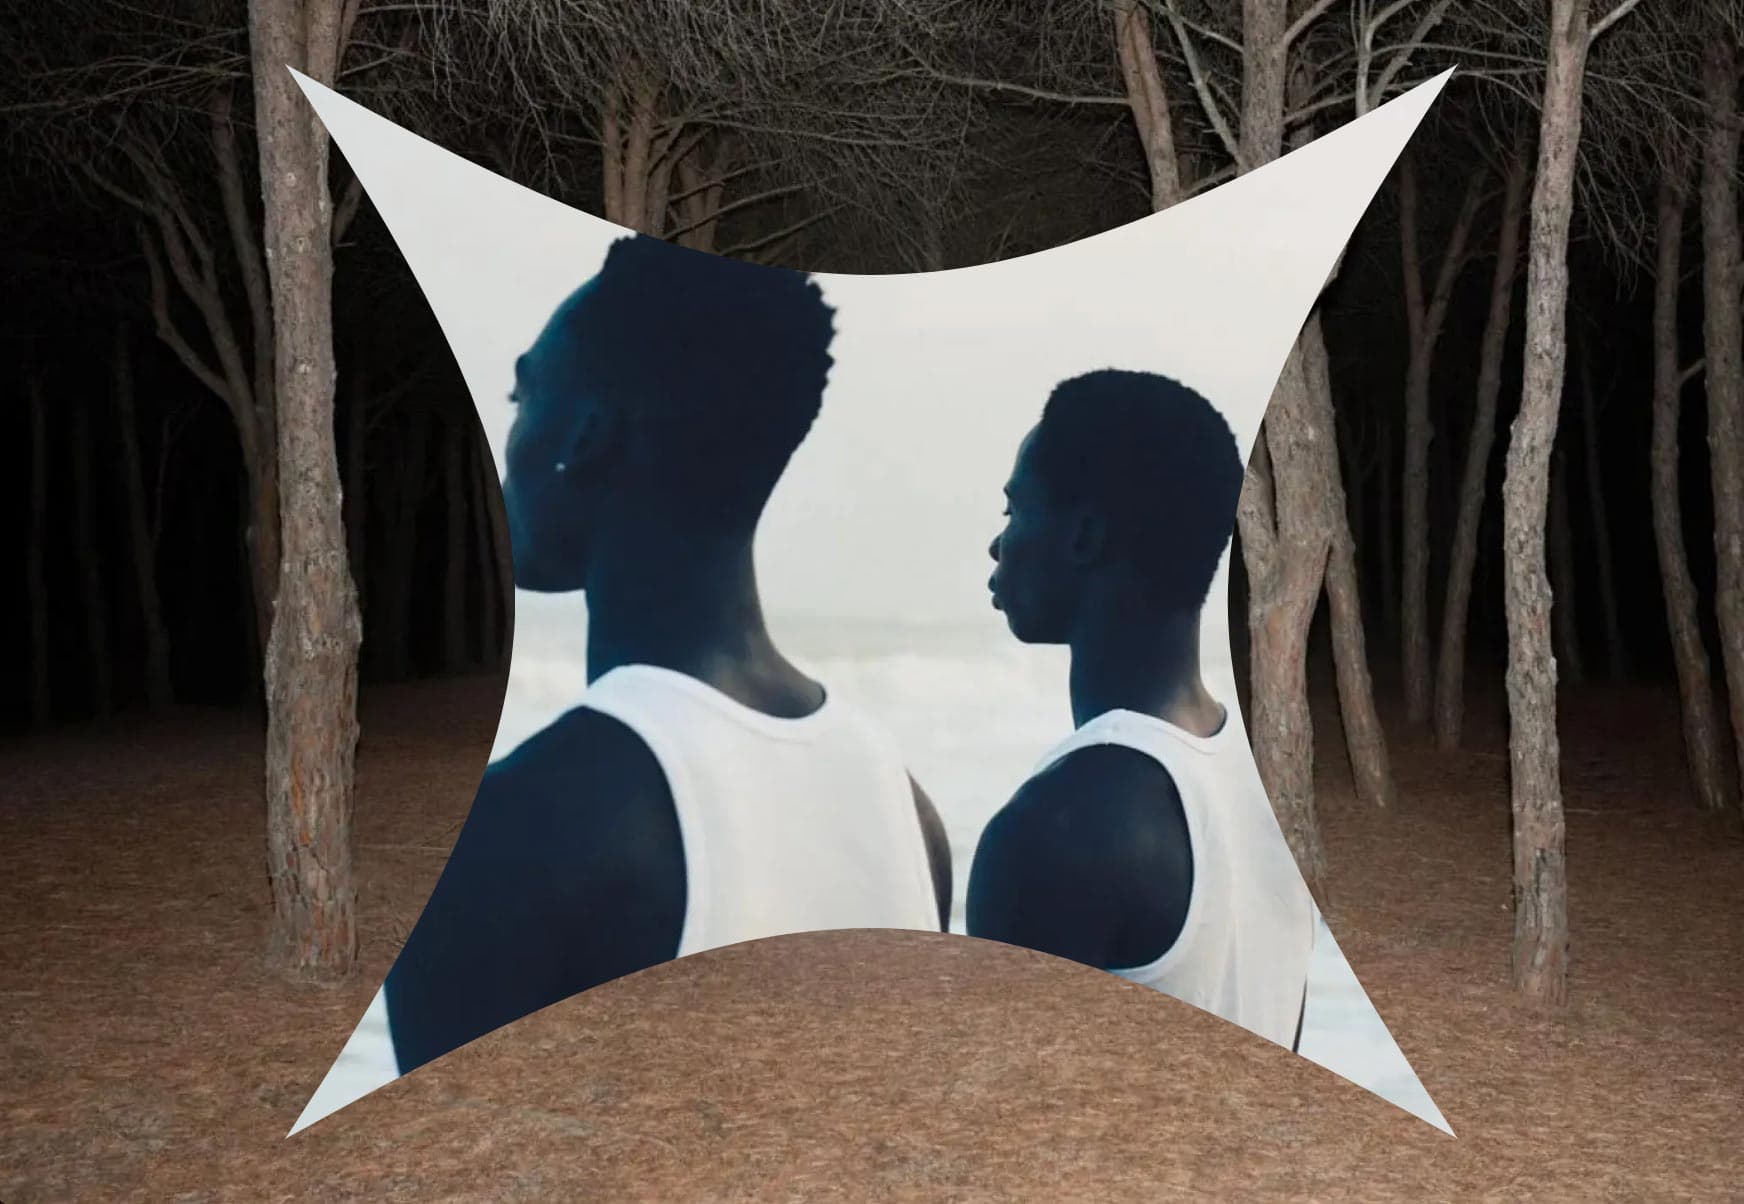
My SVG looks like this:
Adding the HTML and CSS
We can delete everything in the page.js , global.css and page.module.css and add our own HTML and CSS, to start with a nice blank application.
Using sticky position
To make our mask fixed while scrolling, we will use the css position sticky. This will allow the mask to be fixed for the total length of its parent.
Using mask-image
To clip the video with the SVG, we will use the css property mask-image. By doing this we can easily clip our video using CSS
We should have something like this:
2
import { useRef } from 'react';
3
import styles from './page.module.css'
5
export default function Home() {
7
const container = useRef(null);
8
const stickyMask = useRef(null);
11
<main className={styles.main}>
12
<div ref={container} className={styles.container}>
13
<div ref={stickyMask} className={styles.stickyMask}>
14
<video autoPlay muted loop>
15
<source src="/medias/nature.mp4" type="video/mp4"/>
Adding scroll interactivity
To scale the mask while scrolling, we will use requestAnimationFrame to continually read the position of the mask relative to the container. After getting the scroll progress value, we can then easily adjust the maskSize CSS property accordingly.
2
const initialMaskSize = .8;
3
const targetMaskSize = 30;
6
requestAnimationFrame(animate)
10
const maskSizeProgress = targetMaskSize * getScrollProgress();
11
stickyMask.current.style.webkitMaskSize = (initialMaskSize + maskSizeProgress) * 100 + "%";
12
requestAnimationFrame(animate)
15
const getScrollProgress = () => {
16
const scrollProgress = stickyMask.current.offsetTop / (container.current.getBoundingClientRect().height - window.innerHeight)
21
<main className={styles.main}>
22
<div ref={container} className={styles.container}>
23
<div ref={stickyMask} className={styles.stickyMask}>
24
<video autoPlay muted loop>
Couple notes about the code
- The
initialMaskSize is set at .8 because of the mask-size CSS property of 80% previously added. - The
targetMaskSize can be adjusted depending on the size of your SVG mask. 30, which is 3000% was the right value for me. - To perfectly zoom in the '+' sign, I adjusted the
mask-position css property.
Adding an easing
Our animation works perfectly, but we can refine it by adjusting an easing to it. Currently the mask size scales linearly to the scroll position, we but can add a lerp, that will make the animation much smoother.
3
let easedScrollProgress = 0;
6
const maskSizeProgress = targetMaskSize * getScrollProgress();
7
stickyMask.current.style.webkitMaskSize = (initialMaskSize + maskSizeProgress) * 100 + "%";
8
requestAnimationFrame(animate)
11
const getScrollProgress = () => {
12
const scrollProgress = stickyMask.current.offsetTop / (container.current.getBoundingClientRect().height - window.innerHeight)
13
const delta = scrollProgress - easedScrollProgress;
14
easedScrollProgress += delta * easing;
15
return easedScrollProgress
Instead of direcly returning the scroll progress, we can return an eased scroll progress that will gradually be incremented over time.
The final result:
Wrapping up
That was it for this animation, A nice way to use the mask css property! Coupled with a scroll interaction and a sticky position, it can make for a really nice landing page.
Hope you learned a lot :)
-Oli


