Mouse Image Distortion
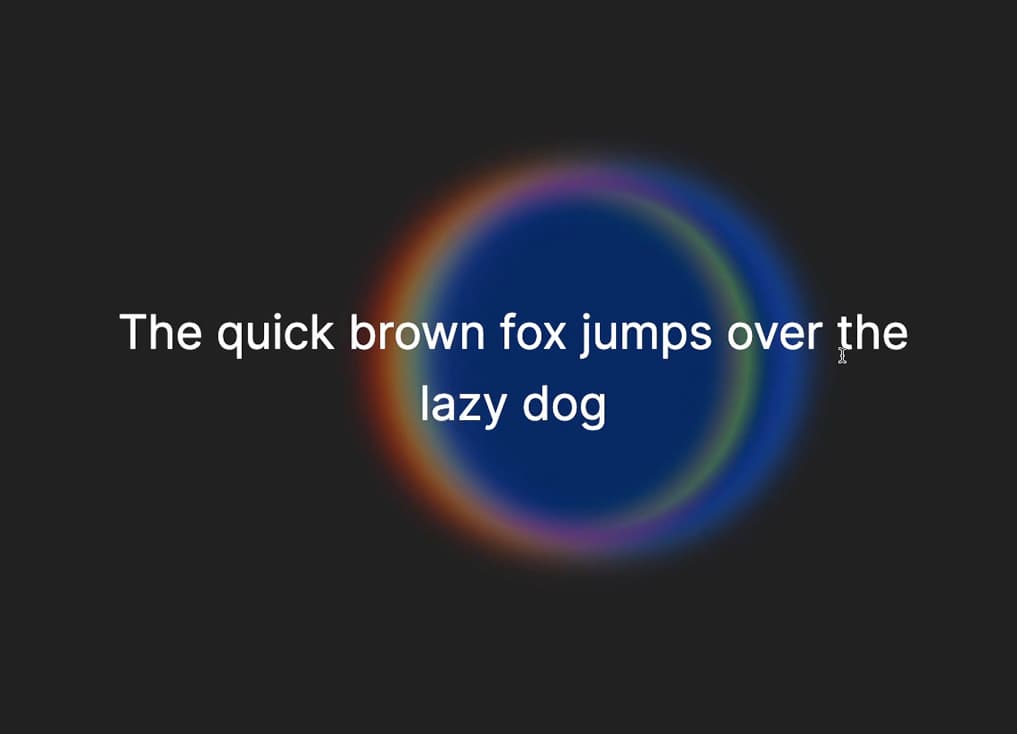
A website animation featuring an image distortion in a curved, using the sin function, React, React Three Fiber and Framer Motion

Mask Section Transition
New
Background Image Parallax
New
Text Parallax
New
Sticky Footer
Perspective Section Transition
Text Along Path
SVG Path On Scroll
Horizontal Section
Zoom Parallax
Parallax Scroll
Horizontal Scroll
Text Gradient Scroll Opacity v2
Cards Parallax
3D perspective Scroll
SVG Mask Scroll
Smooth Parallax Scroll
Smooth Scroll
Pixel Transition
SVG Morph
Sliding Stairs Menu
Floating Image Gallery
Project Gallery Mouse Hover
Text Gradient Opacity On Scroll
Svg Curve Loading
Text Clip Mask On Scroll
Image slide project gallery
Mouse Image Gallery
Pixel Cursor Trailing
Text Mask Animation
3D Perspective Text
Project Gallery Colored Card
Cartoon Cursor Trailing

Olivier Larose
August 15, 2023
/
Beginner
/
Medium
A split image animation using clip-path css value, animated with framer motion and Nextjs. Inspired by: https://tux.co/en/
Live DemoSource codeVideo Tutorial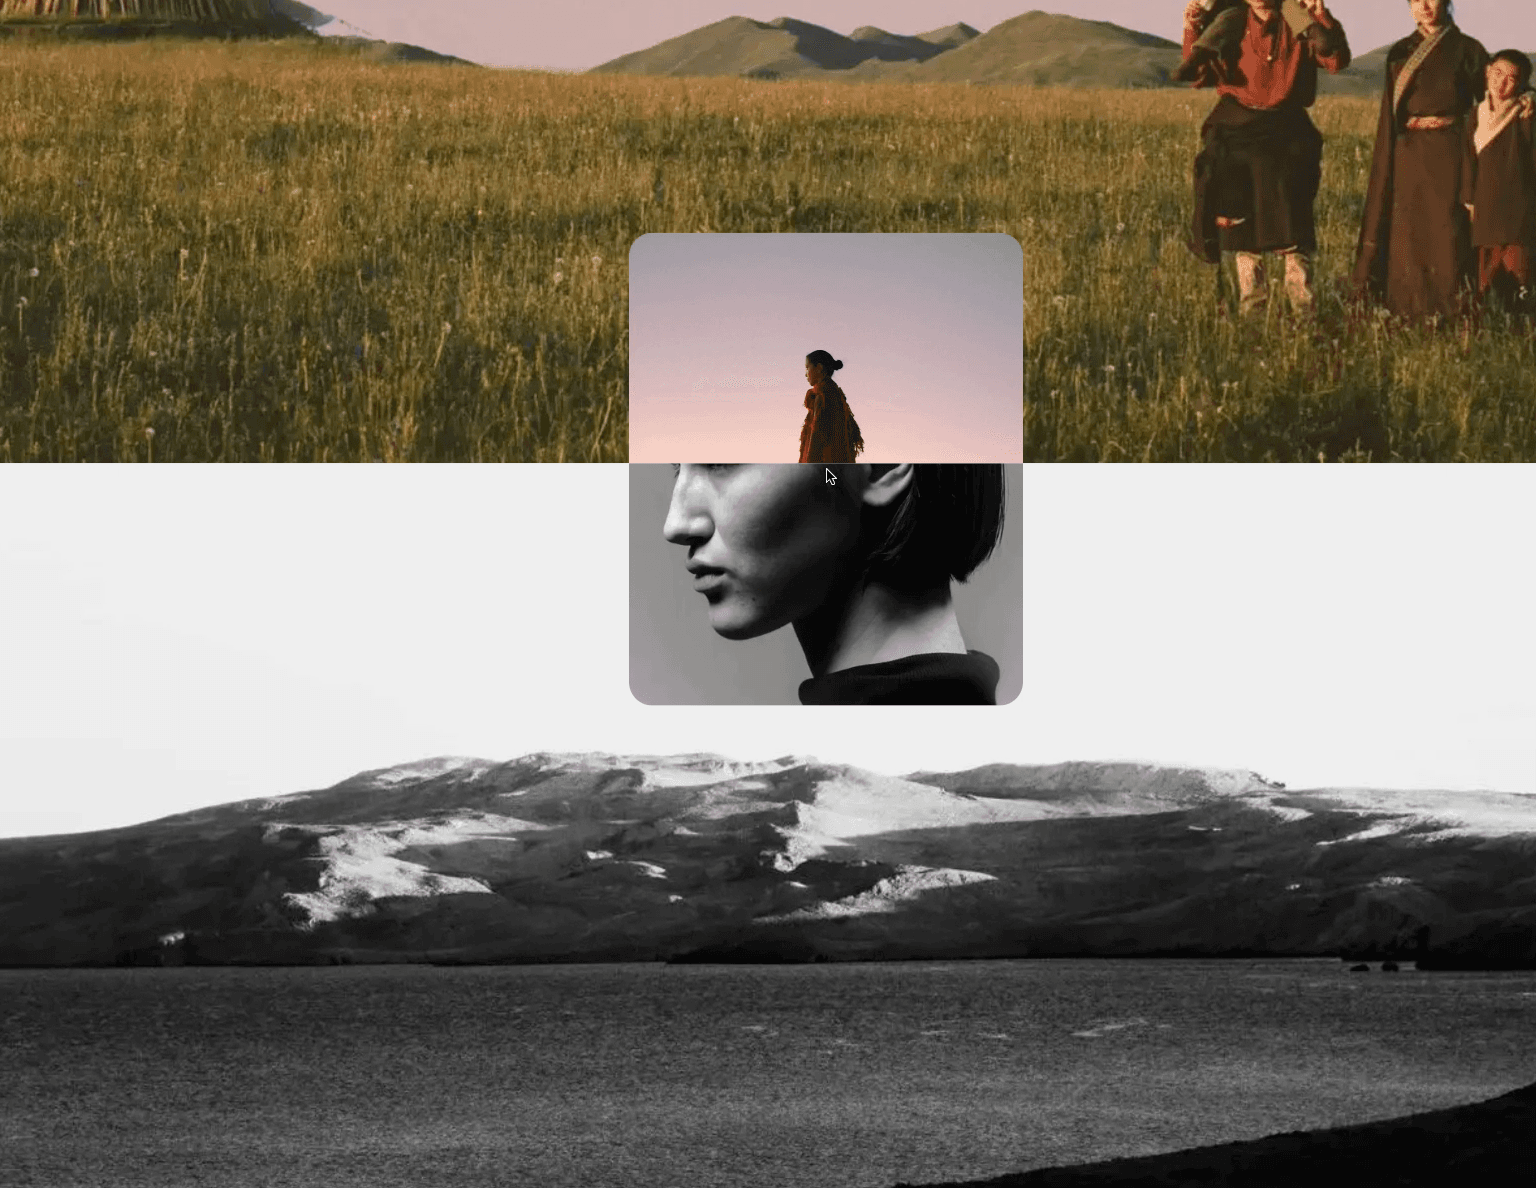
Let's start the project by creating a Next.js application. We can do that by running npx create-next-app@latest client inside of a terminal.
We can delete everything in the page.js , global.css and page.module.css and add our own HTML and CSS, to start with a nice blank application.
npm i sass.npm i framer-motion.npm i @studio-freight/lenis.Here I use an array of projects to return a bunch of Gallery Component. I also use the Lenis Scroll to add a smooth scroll to the page.
page.js
1
'use client';2
import styles from './page.module.css'3
import Gallery from '../components/gallery';4
import { useEffect } from 'react';5
import Lenis from '@studio-freight/lenis';6
7
const projects = [8
{9
name: "Dyal Thak",10
handle: "dyal_thak"11
},12
{13
name: "Leidinger Matthias",14
handle: "leidinger_matthias"15
},16
{17
name: "Mark Rammers",18
handle: "mark_rammers"19
},20
{21
name: "Landon Speers",22
handle: "landon_speers"23
}24
]25
26
export default function Home() {27
28
useEffect( () => {29
const lenis = new Lenis()30
31
function raf(time) {32
lenis.raf(time)33
requestAnimationFrame(raf)34
}35
36
requestAnimationFrame(raf)37
}, [])38
39
return (40
<main className={styles.main}>41
{42
projects.map( ({handle}, i) => {43
return <Gallery handle={handle} key={i}/>44
})45
}46
{/* <Description projects={projects}/> */}47
</main>48
)49
}
The Gallery Component is a simple component that has two elements:
It's important to note that the vignette is cropped withing its container by using the clip-path css value.
We cannot use the overflow:hidden since the vignette is in position fixed, which makes it relative to the window and not its parent.
gallery/...
gallery/...
1
import styles from './style.module.scss'2
import Image from 'next/image';3
4
export default function index({handle}) {5
6
return (7
<div className={styles.gallery}>8
<div className={styles.imageContainer}>9
<Image10
src={`/images/${handle}/background.jpg`}11
alt="image"12
fill13
/>14
</div>15
<div className={styles.vignette}>16
<Image17
src={`/images/${handle}/1.jpg`}18
alt="image"19
fill20
/>21
</div>22
</div>23
)24
}
Couple notes about the code:
For the mouse interactivity, we'll avoid using a state not to create too many re-renders on the Gallery Component.
Instead, we'll use the Motion Values from Framer Motion to store the x and y position of the mouse.
I use the useSpring() to add an easing on the animation (it returns a Motion Value).
page.js
gallery/...
1
...2
3
const spring = {4
stiffness: 150,5
damping: 15,6
mass: 0.17
}8
9
const mousePosition = {10
x: useSpring(0, spring),11
y: useSpring(0, spring)12
}13
14
const mouseMove = (e) => {15
const { clientX, clientY } = e;16
const targetX = clientX - (window.innerWidth / 2 * 0.25);17
const targetY = clientY - (window.innerWidth / 2 * 0.30);18
mousePosition.x.set(targetX);19
mousePosition.y.set(targetY);20
}21
22
return (23
<main onMouseMove={mouseMove} className={styles.main}>24
{25
projects.map( ({handle}, i) => {26
return <Gallery mousePosition={mousePosition} handle={handle} key={i}/>27
})28
}29
...30
The first thing I do is import inside the Page.js Component. I also give it the list of projects and the mouse position.
page.js
1
import Description from '../components/description';2
...3
4
return (5
<main onMouseMove={mouseMove} className={styles.main}>6
...7
<Description mousePosition={mousePosition} projects={projects}/>8
</main>9
)10
}
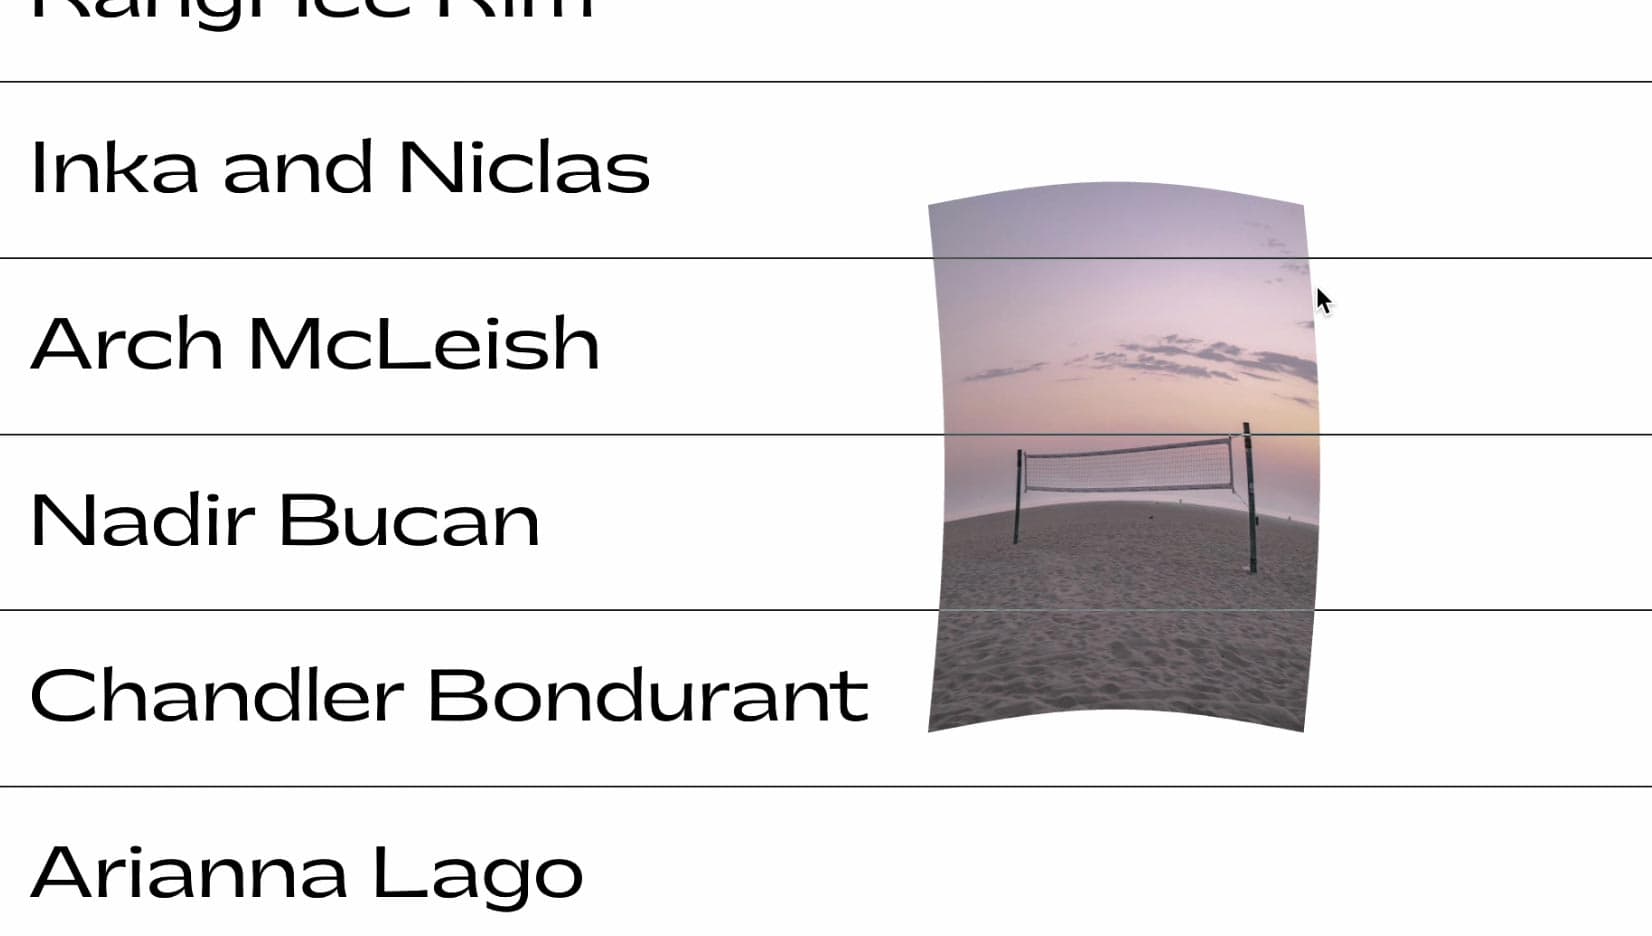
The Description Component has the same logic for its vignette, but this time we add an internal state that changes the image inside it when we hover the on paragraphs.
descript...
descript...
1
import { useState } from 'react'2
import styles from './style.module.scss';3
import { motion } from 'framer-motion';4
import Image from 'next/image';5
6
export default function index({mousePosition, projects}) {7
const [index, setIndex] = useState(0);8
const {x, y} = mousePosition;9
10
return (11
<div className={styles.description}>12
<div className={styles.descriptionContainer}>13
{14
projects.map( ({name}, i) => {15
return <p onMouseOver={() => {setIndex(i)}} key={`p${i}`}>16
{name}17
</p>18
})19
}20
</div>21
<motion.div22
className={styles.vignette}23
style={{x, y}}24
>25
<Image26
src={`/images/${projects[index].handle}/about.jpg`}27
alt="image"28
fill29
/>30
</motion.div>31
</div>32
)33
}
That's it for this animation!
Very useful to know that we can use Motion Values instead of a state when doing highly performance intensive animations like this one. Also the css clip-path is a nice trick to know.
-Oli
June 2, 2024
A website animation featuring an image distortion in a curved, using the sin function, React, React Three Fiber and Framer Motion

May 4, 2024
A website tutorial on making a paint reveal / erasing effect using the destination out blend mode of the canvas API, made with React and Next.js
March 8, 2024
A website tutorial featuring a moving cursor on mouse move, colored with CSS blend mode difference, made with React and GSAP. Inspired by https://trionn.com/