Creating the Project
Let's start the project by creating a Next.js application. We can do that by running npx create-next-app@latest client inside of a terminal.
- We will use Framer Motion for the animation, so we can run
npm i framer-motion. - We will use the Lenis Scroll for the smooth scrolling, so we can run
npm i lenis.
Basic Background Parallax
The basics of creating a background image parallax is as follow:
- Create a container with an overflow hidden
- Add an image inside of that container taking the full width and height of it
- Translate the image on scroll
1
import React from 'react'
2
import Image from 'next/image';
3
import Background from '../../public/images/2.jpg';
4
import { useScroll, useTransform, motion } from 'framer-motion';
5
import { useRef } from 'react';
7
export default function Intro() {
8
const container = useRef();
9
const { scrollYProgress } = useScroll({
11
offset: ['start start', 'end start']
14
const y = useTransform(scrollYProgress, [0, 1], ["0vh", "150vh"])
17
<div className='h-screen overflow-hidden'>
18
<motion.div style={{y}} className='relative h-full'>
19
<Image src={Background} fill alt="image" style={{objectFit: "cover"}}/>
Couple notes about the code above:
- The progress of the scroll is tracked using the useScroll Hook
- Since the component is the first inside the page, we use an offset of
['start start'] - The progress of the scroll (a value between 0 and 1) is transformed into a value between 0vh and 150vh and used as a
translateY value
Then I'm adding that component inside the page.js:
2
import { useEffect } from 'react';
3
import Lenis from 'lenis'
4
import Intro from '@/components/Intro';
5
import Description from '@/components/Description';
7
export default function Home() {
10
const lenis = new Lenis()
14
requestAnimationFrame(raf)
17
requestAnimationFrame(raf)
24
<div className='h-screen'></div>
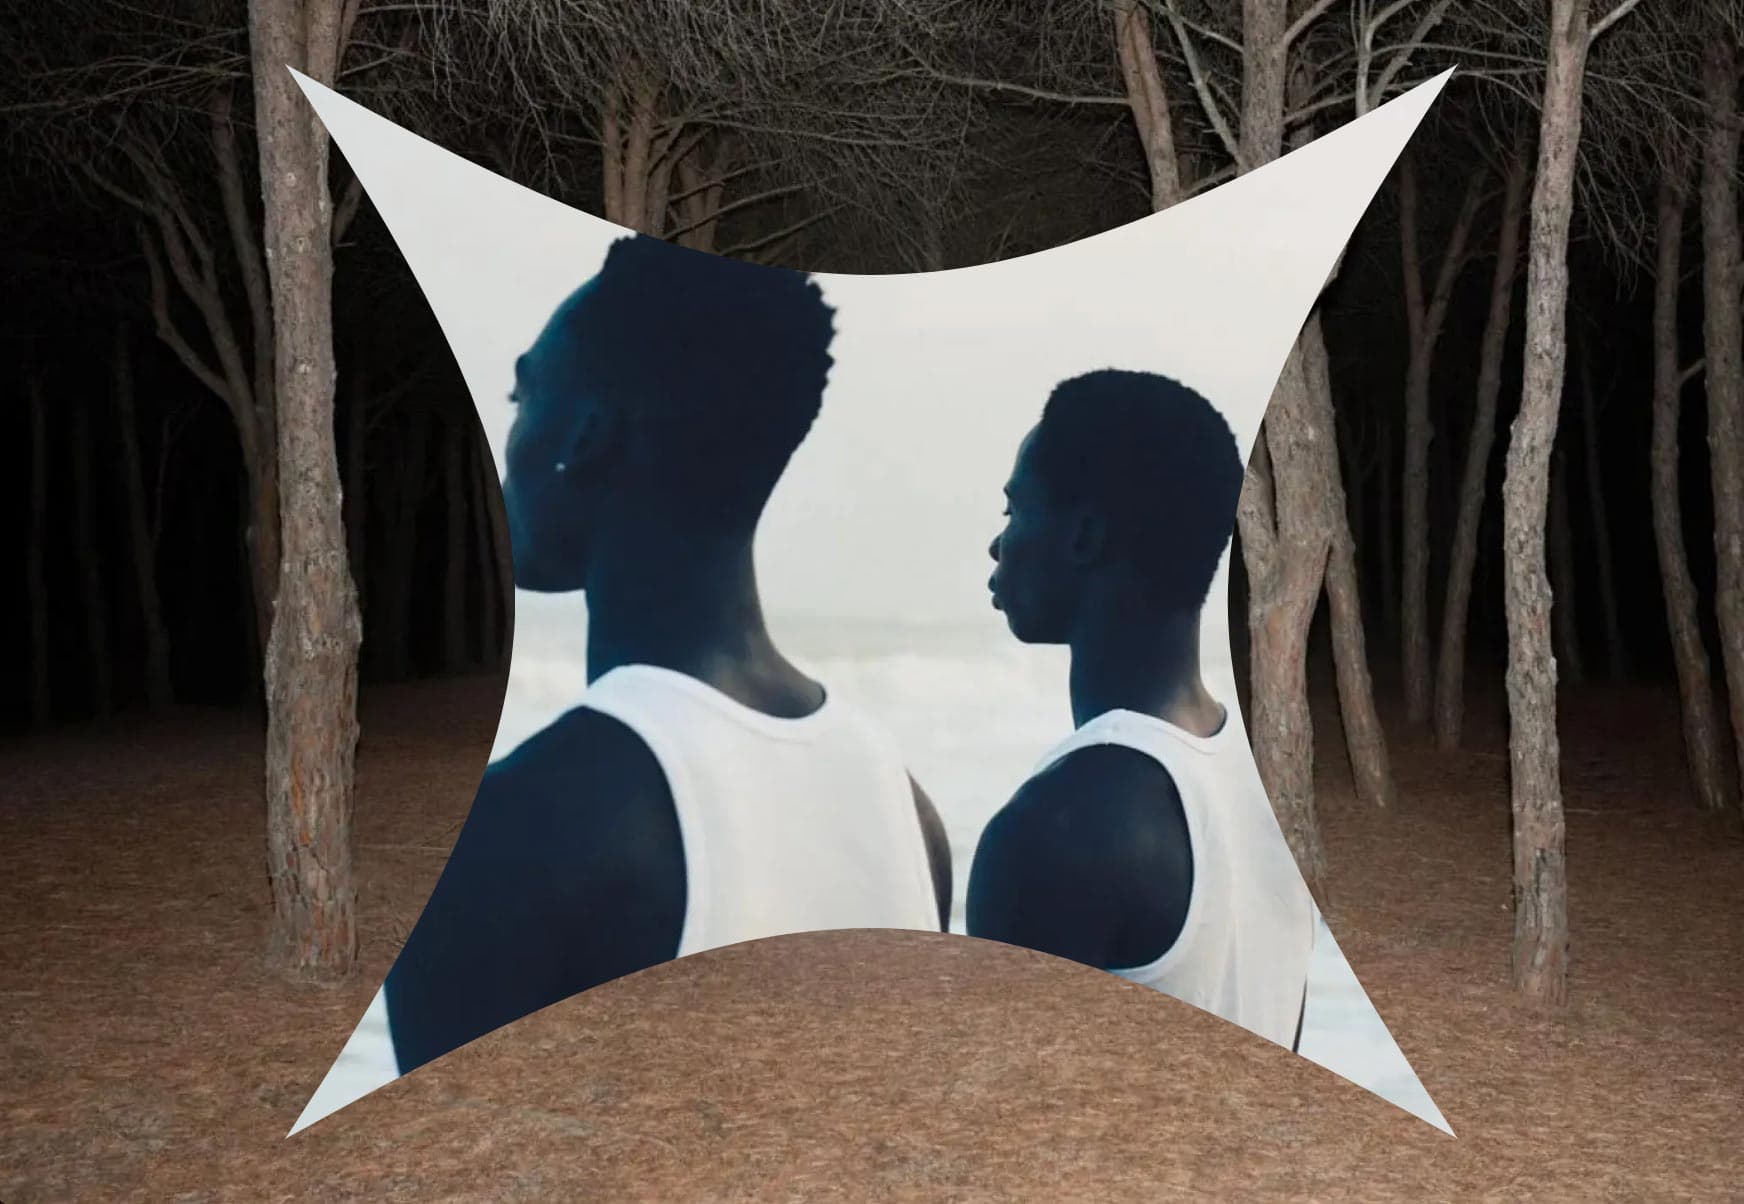
We should have something like this:
Advanced Background Parallax
The other way of making a background parallax is the same way but instead the container will be in position fixed.
1
import Image from 'next/image';
2
import Background from '../../public/images/1.jpg';
3
import Text from './components/Text';
4
import { useScroll, useTransform, motion } from 'framer-motion';
5
import { useRef } from 'react';
7
export default function Section() {
8
const container = useRef();
9
const { scrollYProgress } = useScroll({
11
offset: ["start end", 'end start']
13
const y = useTransform(scrollYProgress, [0, 1], ["-10vh", "10vh"]);
18
className='relative flex items-center justify-center h-screen overflow-hidden'
19
style={{clipPath: "polygon(0% 0, 100% 0%, 100% 100%, 0 100%)"}}
22
<div className='fixed top-[-10vh] left-0 h-[120vh] w-full'>
23
<motion.div style={{y}} className='relative w-full h-full'>
24
<Image src={Background} fill alt="image" style={{objectFit: "cover"}}/>
Couple notes about the above code:
- The image container is in position fixed, so we need to add a
clip-path on the parent to crop that fixed div. - The same principles apply from the previous implementation, we translate the image based on the position of the scroll.
- The amount translated here (-10vh and 10vh) should be accounted in the height of the fixed container (120vh).
We should have something like this:
Wrapping up
That's it for this animation!
A super clean animation that in my opinion should be in almost every single websites, it really adds a nice dimensionality and brins it to another level of quality. Hope you learned something!
-Oli

