Pixel Transition
A web animation tutorial featuring a centered, horizontal and vertical pixel transition effect using Next.js and Framer Motion

Olivier Larose
May 27, 2023
/
Intermediate
/
Medium
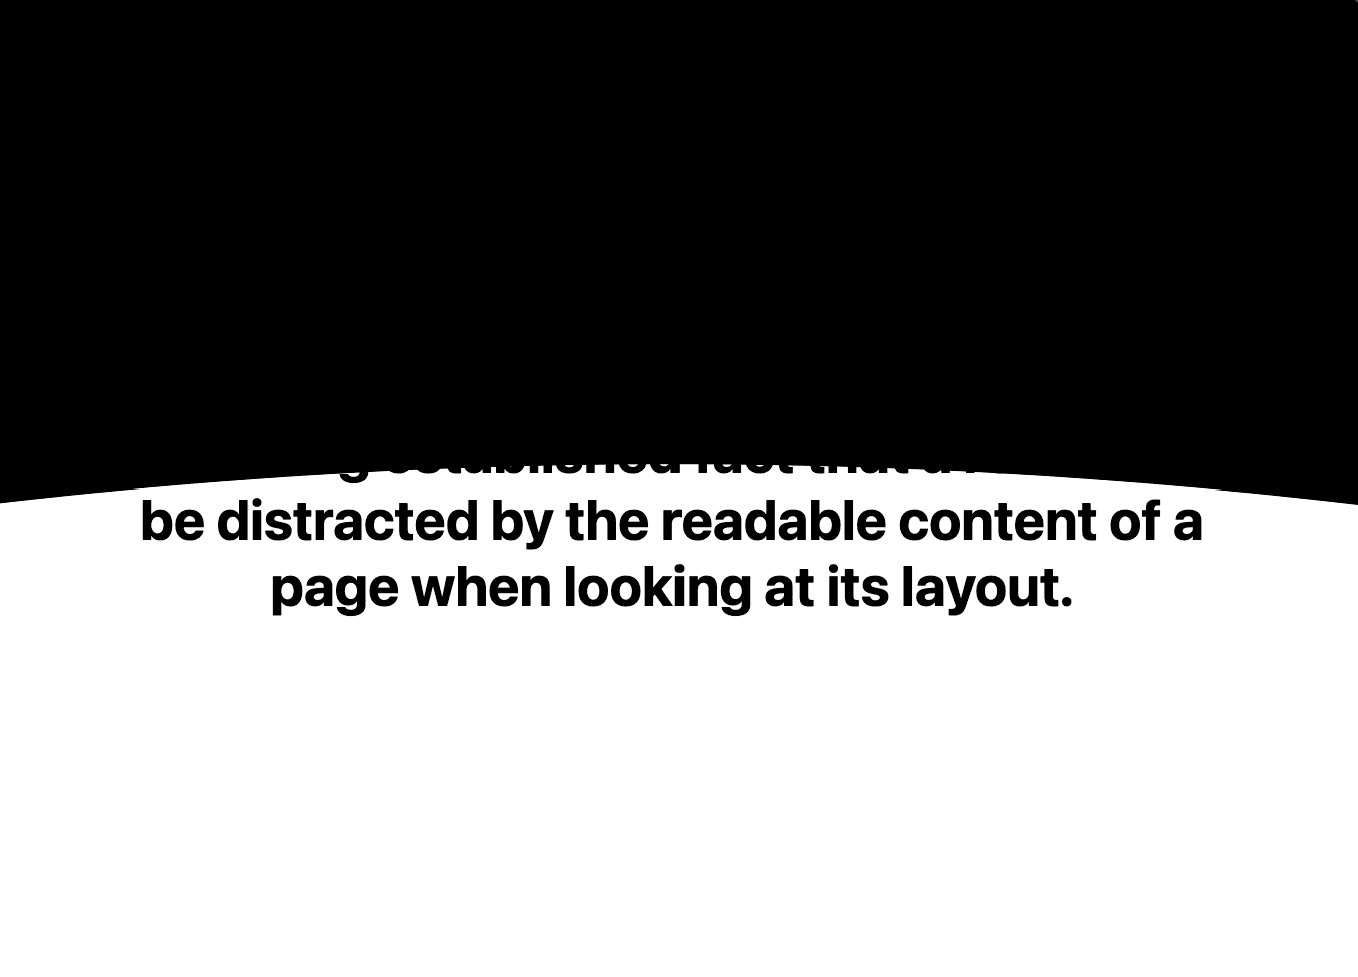
A loading screen using an animated curved SVG using React and Next.js
Live DemoSource code
Let's start the project by creating a Next.js application. We can do that by running npx create-next-app@latest client inside of a terminal.
We can delete everything in the page.js , global.css and page.module.css and add our own HTML and CSS, to start with a nice blank application.
page.js
page.mod...
1
'use client';2
import styles from './page.module.css'3
import { useRef } from 'react'4
5
export default function Home() {6
7
const loader = useRef(null);8
const path = useRef(null);9
10
return (11
<main className={styles.main}>12
13
<div className={styles.body}>14
<h1>It is a long established fact that a reader will be distracted by the readable content of a page when looking at its layout.</h1>15
</div>16
17
<div ref={loader} className={styles.loader}>18
<svg>19
<path ref={path}></path>20
</svg>21
</div>22
23
</main>24
)25
}

To create the SVG, we will use Line commands and Curve commands.
More specifically, we will use the Move To command:
Move To
1
M x y
And the Bézier Curve command:
Bézier Curve
1
Q x1 y1, x y
Here we initialize a curve value of 200, that we will use in the Bézier curve command. That value is related to the height: calc(100vh + 200px) of the loader.
page.js
1
...2
import { useRef, useEffect } from 'react'3
4
export default function Home() {5
6
const loader = useRef(null);7
const path = useRef(null);8
const initialCurve = 200;9
10
useEffect(() => {11
setPath(initialCurve)12
}, [])13
14
const loaderHeight = () => {15
const loaderBounds = loader.current.getBoundingClientRect();16
return loaderBounds.height;17
}18
19
const setPath = (curve) => {20
const width = window.innerWidth21
const height = loaderHeight();22
path.current.setAttributeNS(null, "d",23
`M0 024
L${width} 025
L${width} ${height}26
Q${width/2} ${height - curve} 0 ${height}27
L0 0`28
)29
}30
31
return (32
...33
<div ref={loader} className={styles.loader}>34
<svg>35
<path ref={path}></path>36
</svg>37
</div>38
)39
}40
The commands are basically drawing a rectangle with the size of (window + 200px), with curved a bottom line.

Note: We see the black SVG taking the full window and we are not seeing the curved bottom, because we set a height of height: calc(100vh + 200px).
To slide up the SVG, we'll simply use requestAnimateFrame and change the top property of the loader.
We will also use the easeOutQuad easing function to make everything smoother.
page.js
1
...2
const duration = 600;3
let start;4
5
useEffect(() => {6
setPath(initialCurve)7
setTimeout( () => {8
requestAnimationFrame(animate)9
}, 500)10
}, [])11
12
const animate = (timestamp) => {13
if(start === undefined){14
start = timestamp15
}16
const elapsed = timestamp - start;17
18
loader.current.style.top = easeOutQuad(elapsed, 0, -loaderHeight(), duration) + "px";19
20
if(elapsed < duration){21
requestAnimationFrame(animate)22
}23
}24
25
const easeOutQuad = (time, start, end, duration) => {26
return -end * (time /= duration) * (time - 2) + start;27
}28
29
const loaderHeight = () => {30
const loaderBounds = loader.current.getBoundingClientRect();31
return loaderBounds.height;32
}33
...34
Couple of notes about the code above:
The last thing we need to finish this animation is to gradually uncurve the animation to give everything a natural look.
The good news is everything is correctly set up to easily to that.
page.js
1
...2
const animate = (timestamp) => {3
...4
const newCurve = easeOutQuad(elapsed, initialCurve, -200, duration)5
setPath(newCurve);6
...7
}8
...
Note: Since the loader is of calc(100vh + 200px), the target curve needs to be -200 to have it flat at the end of the animation.
We are done! Hope you liked this animation. The curving can be applied to a ton of other situation other than a loading, so it's great tool to have it in our toolbox.
Hope you learned a lot :)
- Oli