Initializing the project
Let's start the project by creating a Next.js application. We can do that by running npx create-next-app@latest client inside of a terminal.
We can delete everything in the page.js , global.css and page.module.css and add our own HTML and CSS, to start with a nice blank application.
- We will use Sass for the stylesheets, so we can run
npm i sass. - We will use Framer Motion for the animation, so we can run
npm i framer-motion. - We will use the Lenis Scroll for the smooth scrolling, so we can run
npm i @studio-freight/lenis.
Adding a smooth scroll
We can make this animation first by first adding a smooth scroll. There are many ways of doing this and it's not necessary for the animation, but I personally like it.
For that, I'll use Lenis Scroll:
2
const lenis = new Lenis()
6
requestAnimationFrame(raf)
9
requestAnimationFrame(raf)
The Basics
Here's the basics of making this animations. We want to have a main container with a long scroll, something like 300vh and inside of it have a sticky container of 100vh that will stick throughout the whole length of its parent.
Then we can track the progress of the scroll and scale all our divs consequently.
Scale based on the scroll
1
const { scrollYProgress } = useScroll({
3
offset: ['start start', 'end end']
6
const scale4 = useTransform(scrollYProgress, [0, 1], [1, 4]);
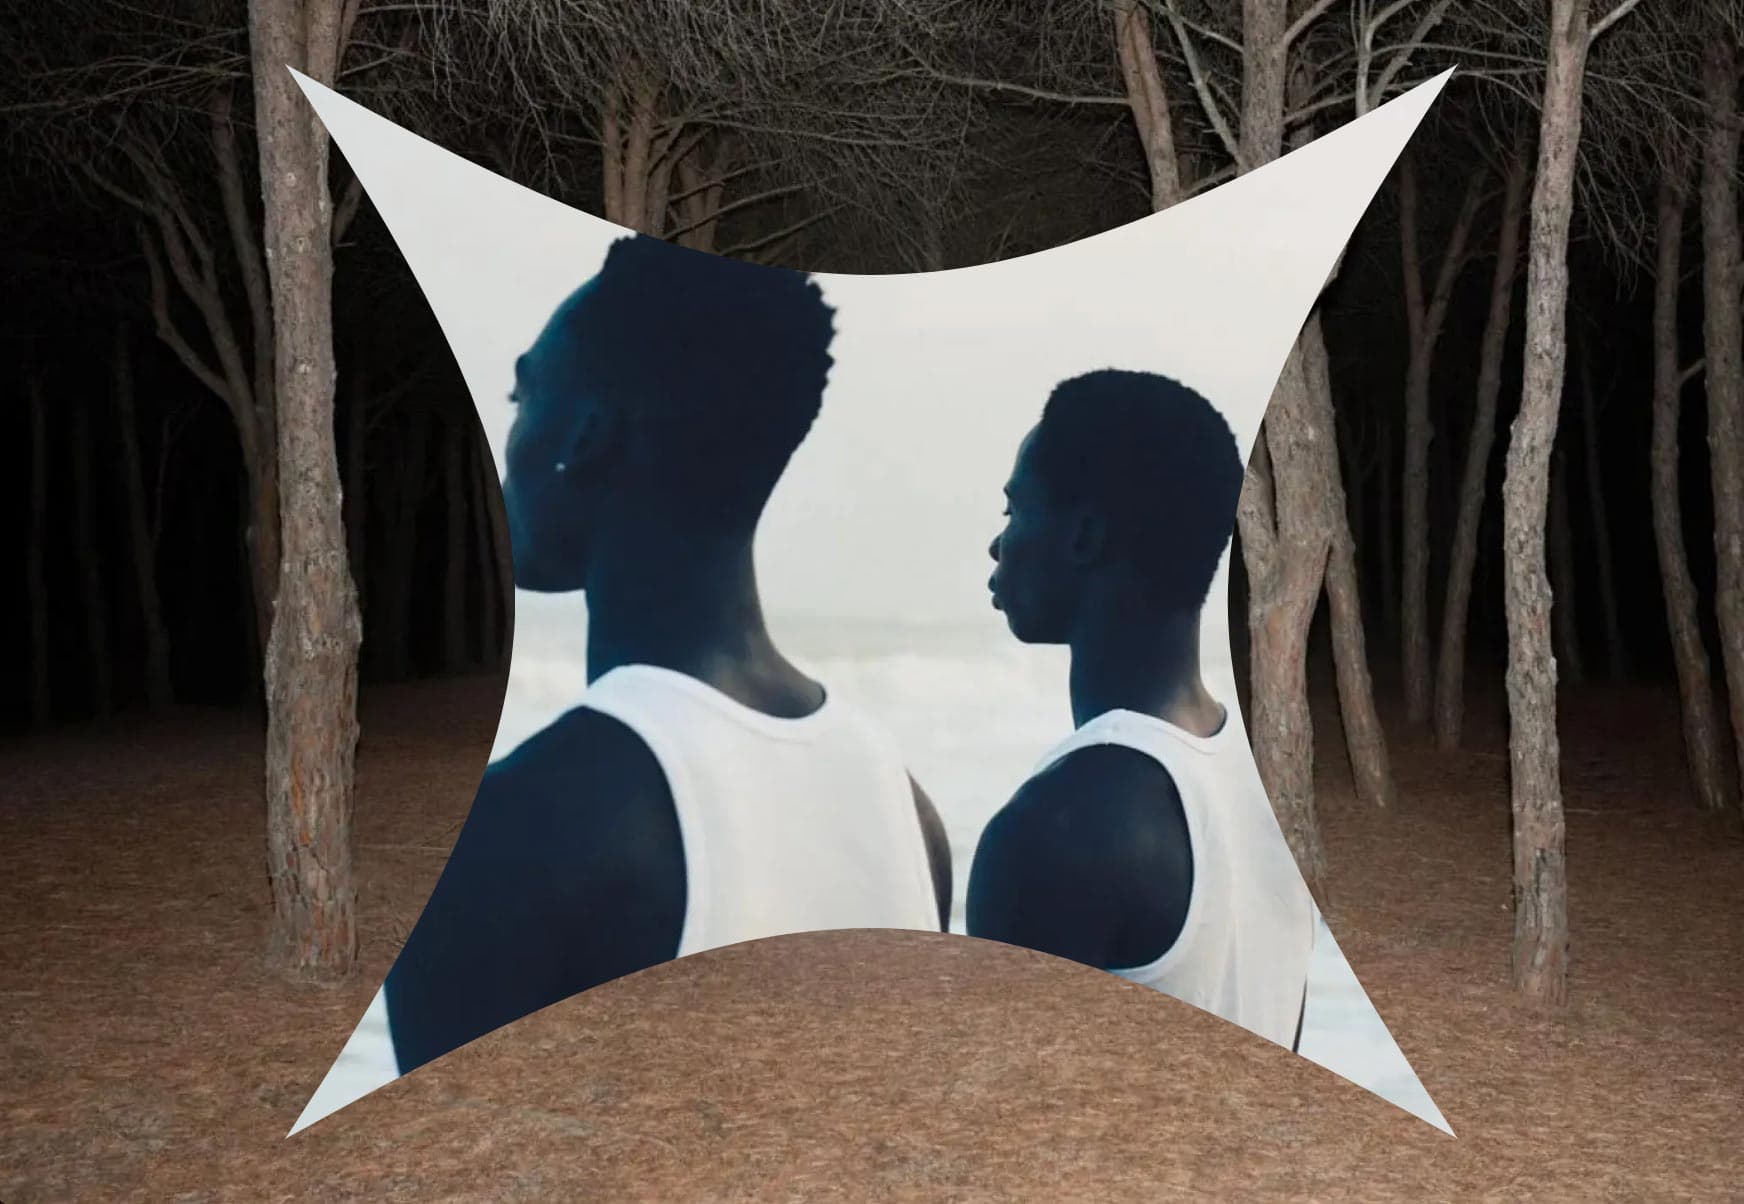
Here's how it would look for the main image at the center.
1
import styles from './styles.module.scss';
2
import Picture1 from '../../../public/images/1.jpeg';
3
import Image from 'next/image';
4
import { useScroll, useTransform, motion} from 'framer-motion';
5
import { useRef } from 'react';
7
export default function Index() {
9
const container = useRef(null);
10
const { scrollYProgress } = useScroll({
12
offset: ['start start', 'end end']
15
const scale = useTransform(scrollYProgress, [0, 1], [1, 4]);
18
<div ref={container} className={styles.container}>
19
<div className={styles.sticky}>
20
<motion.div style={{scale}} className={styles.el}>
21
<div className={styles.imageContainer}>
- Since the image-container has a width and height of
25vw and 25vh, all we have to do is scale it from 1 to 4 to make the image take the full screen at any screen size.
We should have something like this:
Adding the other images
To make the code extra clean, I create an array of images with different scale values. I can then simply loop that array to render all the images.
1
const scale4 = useTransform(scrollYProgress, [0, 1], [1, 4]);
2
const scale5 = useTransform(scrollYProgress, [0, 1], [1, 5]);
3
const scale6 = useTransform(scrollYProgress, [0, 1], [1, 6]);
4
const scale8 = useTransform(scrollYProgress, [0, 1], [1, 8]);
5
const scale9 = useTransform(scrollYProgress, [0, 1], [1, 9]);
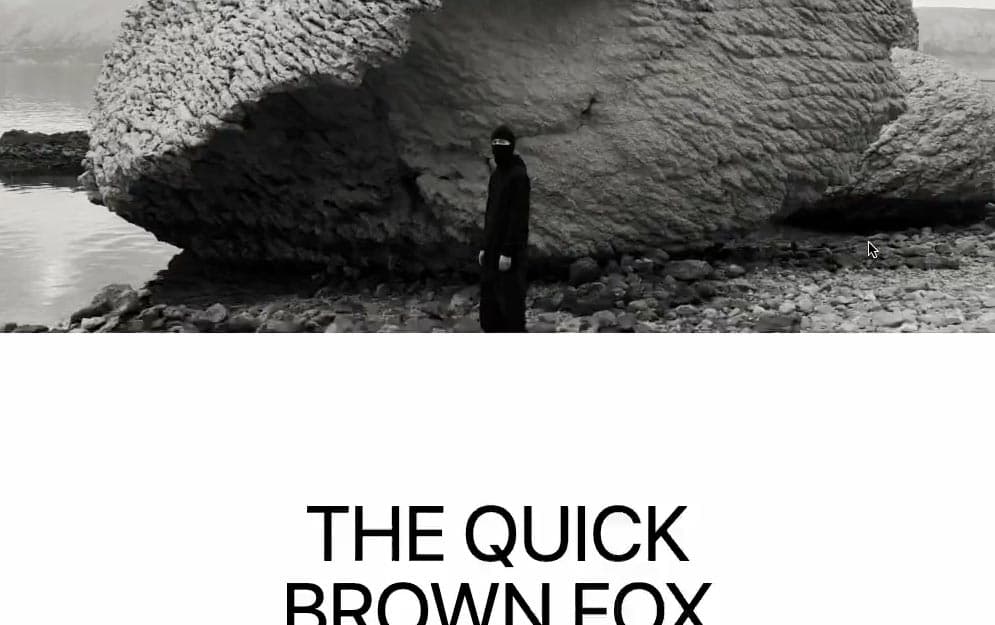
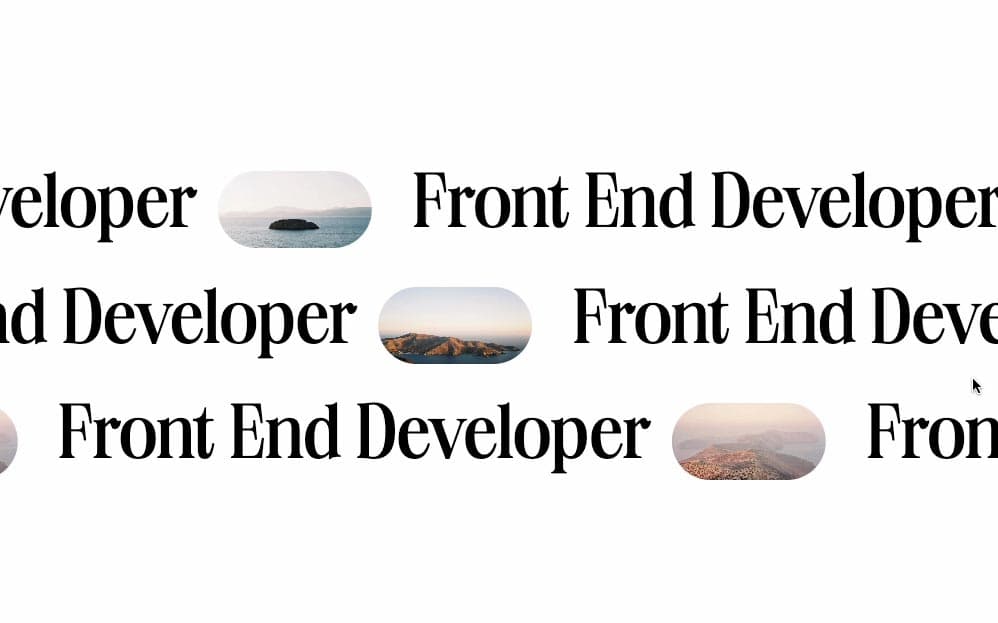
Now that we have a clean structure, I can simply loop the array and render all my images. Most of the work is then done in CSS to place all the images correctly.
2
<div ref={container} className={styles.container}>
3
<div className={styles.sticky}>
5
pictures.map( ({src, scale}, index) => {
6
return <motion.div key={index} style={{scale}} className={styles.el}>
7
<div className={styles.imageContainer}>
- To avoid making the divs overlap on top of each others as they are scaling, I'm actually scaling the
el and not the image-container. That way, the scaling is more natural and is keeping it's original layout.
We should have something like this:
Wrapping up
Quick, clean and easy like this!
Hope you liked the animation, it's a good trick to scale the parent to keep the original layout when doing a zoom parallax like this. Hope you learned something!
-Oli