Mouse Image Distortion
A website animation featuring an image distortion in a curved, using the sin function, React, React Three Fiber and Framer Motion

Mask Section Transition
New
Background Image Parallax
New
Text Parallax
New
Sticky Footer
Perspective Section Transition
Text Along Path
SVG Path On Scroll
Horizontal Section
Zoom Parallax
Parallax Scroll
Horizontal Scroll
Text Gradient Scroll Opacity v2
Cards Parallax
3D perspective Scroll
SVG Mask Scroll
Smooth Parallax Scroll
Smooth Scroll
Pixel Transition
SVG Morph
Sliding Stairs Menu
Floating Image Gallery
Project Gallery Mouse Hover
Text Gradient Opacity On Scroll
Svg Curve Loading
Text Clip Mask On Scroll
Image slide project gallery
Mouse Image Gallery
Pixel Cursor Trailing
Text Mask Animation
3D Perspective Text
Project Gallery Colored Card
Cartoon Cursor Trailing

Olivier Larose
July 28, 2023
/
Beginner
/
Short
A custom cursor with a mask hover effect revealing text underneath. Made with Nextjs and Framer Motion. Insipired by: https://minhpham.design/
Live DemoSource codeVideo Tutorial
Let's start the project by creating a Next.js application. We can do that by running npx create-next-app@latest client inside of a terminal.
We can delete everything in the page.js , global.css and page.module.css and add our own HTML and CSS, to start with a nice blank application.
npm i sass.npm i framer-motion.We can start by creating a custom hook to get the position of the mouse.
useMousePosition.js
1
import { useState, useEffect } from "react";2
3
const useMousePosition = () => {4
const [mousePosition, setMousePosition] = useState({ x: null, y: null });5
6
const updateMousePosition = e => {7
setMousePosition({ x: e.clientX, y: e.clientY });8
};9
10
useEffect(() => {11
window.addEventListener("mousemove", updateMousePosition);12
13
return () => window.removeEventListener("mousemove", updateMousePosition);14
}, []);15
16
return mousePosition;17
};18
19
export default useMousePosition;
page.js
page.mod...
1
'use client'2
import styles from './page.module.scss'3
import { useState } from 'react';4
import { motion } from 'framer-motion';5
import useMousePosition from './utils/useMousePosition';6
7
export default function Home() {8
9
const [isHovered, setIsHovered] = useState(false);10
const { x, y } = useMousePosition();11
const size = isHovered ? 400 : 40;12
13
return (14
<main className={styles.main}>15
<motion.div16
className={styles.mask}17
animate={{18
WebkitMaskPosition: `${x - (size/2)}px ${y - (size/2)}px`,19
WebkitMaskSize: `${size}px`,20
}}21
transition={{ type: "tween", ease: "backOut", duration:0.5}}22
>23
<p onMouseEnter={() => {setIsHovered(true)}} onMouseLeave={() => {setIsHovered(false)}}>24
A visual designer - with skills that haven't been replaced by A.I (yet) - making good shit only if the paycheck is equally good.25
</p>26
</motion.div>27
28
<div className={styles.body}>29
<p>I'm a <span>selectively skilled</span> product designer with strong focus on producing high quality & impactful digital experience.</p>30
</div>31
32
</main>33
)34
}
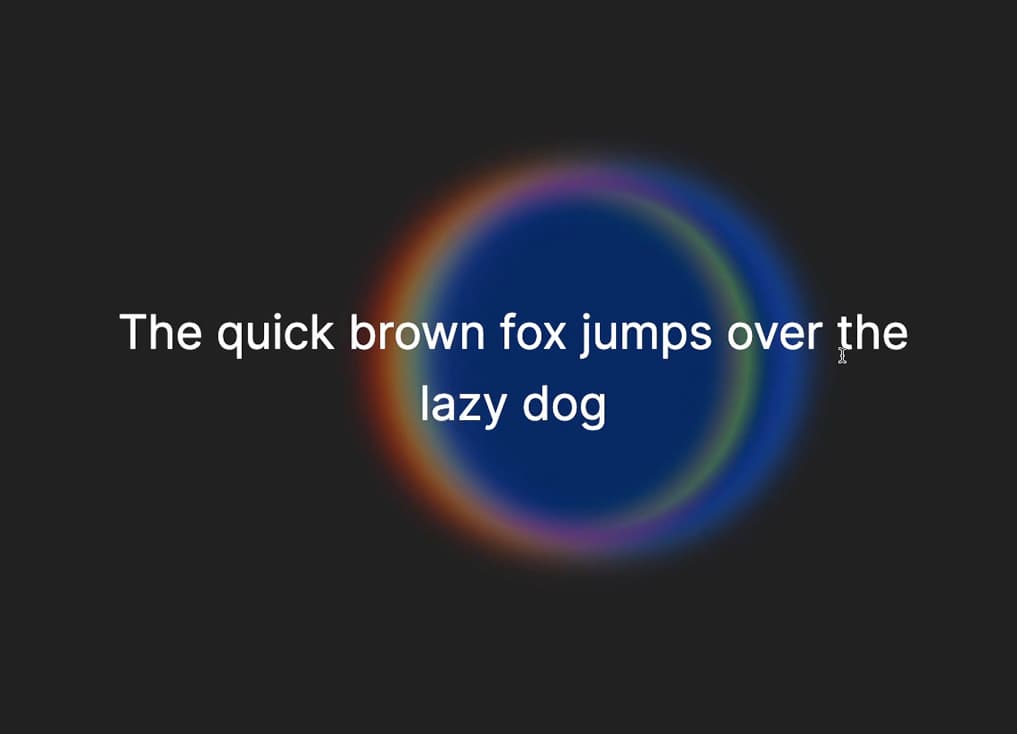
The code is pretty straight forward. We use the position of the mouse to move the mask position which reveals the text. Both divs are perfectly stacked on top of each others to create the desired effect.
That's it for this animation!
Quick and simple and we can have a very clean hover effect like this by using the CSS mask property. Hope you learned someting.
-Oli
June 2, 2024
A website animation featuring an image distortion in a curved, using the sin function, React, React Three Fiber and Framer Motion

May 4, 2024
A website tutorial on making a paint reveal / erasing effect using the destination out blend mode of the canvas API, made with React and Next.js
March 8, 2024
A website tutorial featuring a moving cursor on mouse move, colored with CSS blend mode difference, made with React and GSAP. Inspired by https://trionn.com/