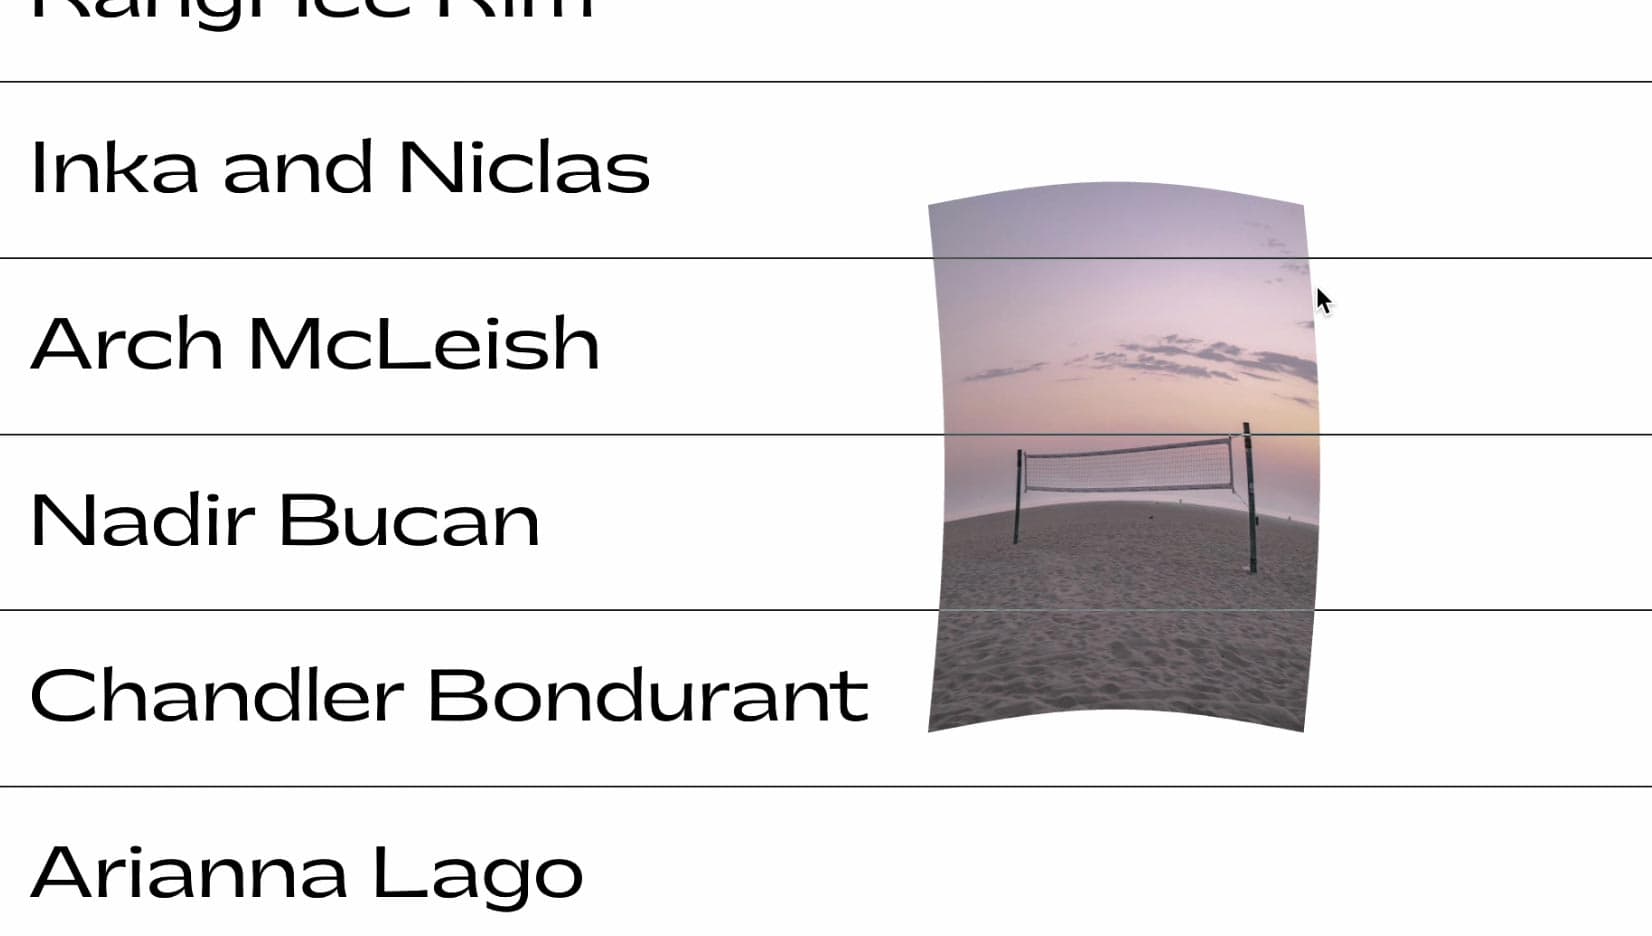
Mouse Image Distortion
A website animation featuring an image distortion in a curved, using the sin function, React, React Three Fiber and Framer Motion

Mask Section Transition
New
Background Image Parallax
New
Text Parallax
New
Sticky Footer
Perspective Section Transition
Text Along Path
SVG Path On Scroll
Horizontal Section
Zoom Parallax
Parallax Scroll
Horizontal Scroll
Text Gradient Scroll Opacity v2
Cards Parallax
3D perspective Scroll
SVG Mask Scroll
Smooth Parallax Scroll
Smooth Scroll
Pixel Transition
SVG Morph
Sliding Stairs Menu
Floating Image Gallery
Project Gallery Mouse Hover
Text Gradient Opacity On Scroll
Svg Curve Loading
Text Clip Mask On Scroll
Image slide project gallery
Mouse Image Gallery
Pixel Cursor Trailing
Text Mask Animation
3D Perspective Text
Project Gallery Colored Card
Cartoon Cursor Trailing

Olivier Larose
July 7, 2023
/
Beginner
/
Short
A website tutorial featuring a mouse interactive project gallery from an awwwards winning website, made with Nextjs. Inspired by https://decimalstudios.com/work.
Live DemoSource codeVideo Tutorial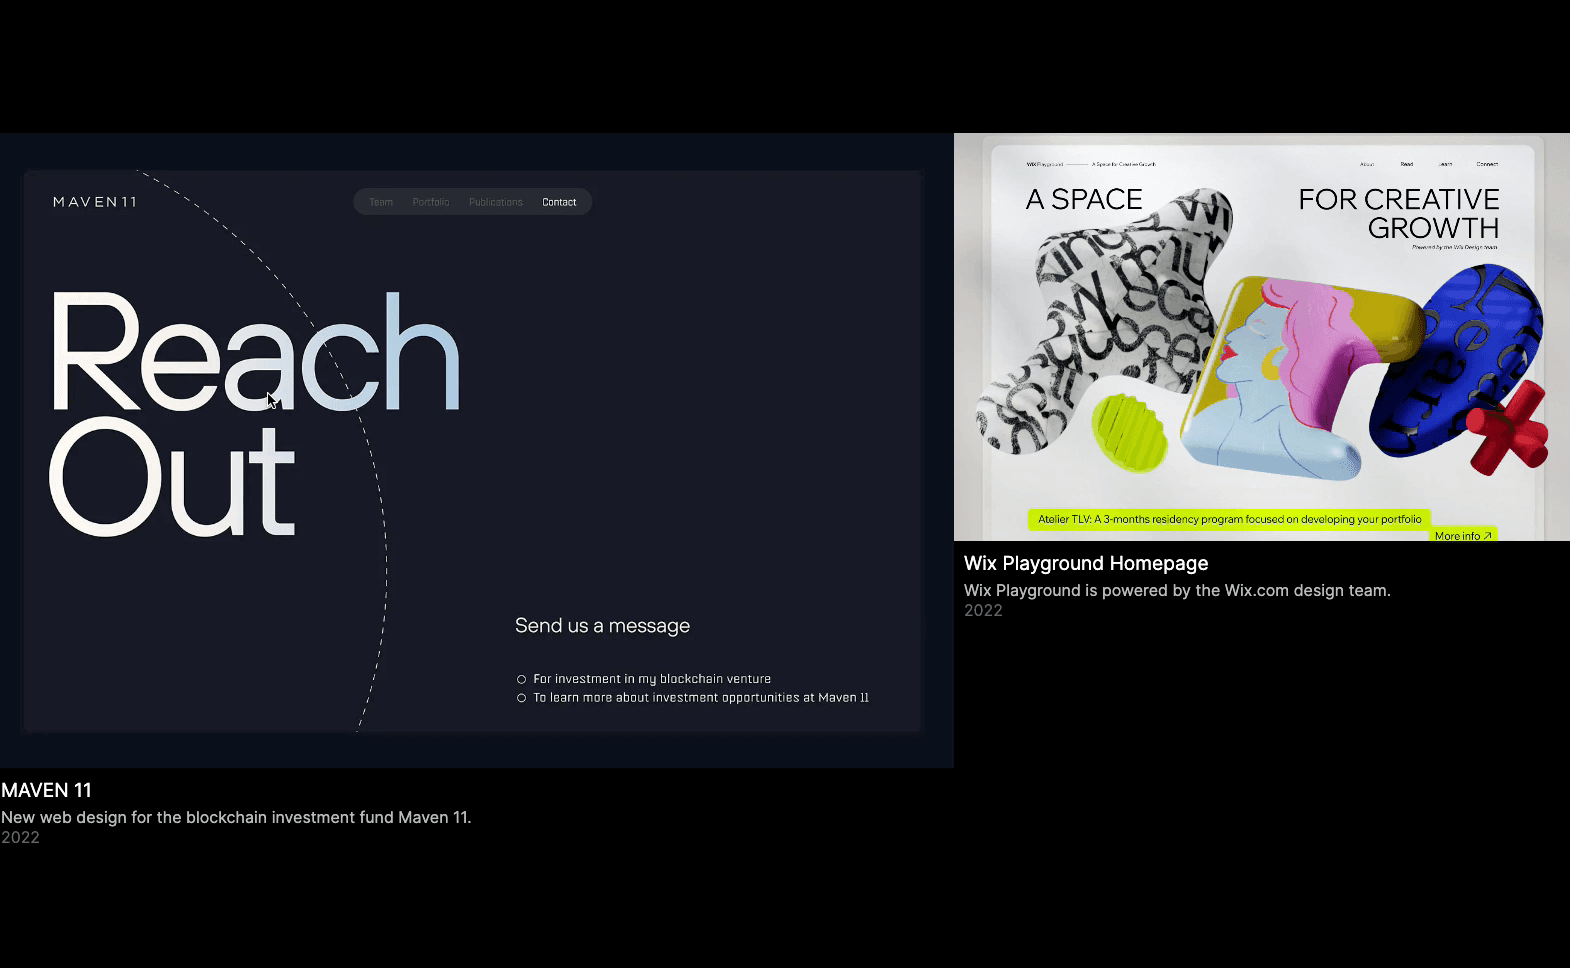
Let's start the project by creating a Next.js application. We can do that by running npx create-next-app@latest client inside of a terminal.
We can delete everything in the page.js , global.css and page.module.css and add our own HTML and CSS, to start with a nice blank application.
npm i sass.All the info about the projects will be stored inside an array. We can create a new src/data.js and put the array inside:
src/data.js
1
export const projects = [2
{3
name: "MAVEN 11",4
client: "analogueagency",5
description: "New web design for the blockchain investment fund Maven 11.",6
src: "maven.jpg",7
year: 2022,8
},9
{10
name: "Wix Playground Homepage",11
client: "Wix Playground",12
description: "Wix Playground is powered by the Wix.com design team.",13
src: "wix.jpg",14
year: 2022,15
},16
{17
name: "POWELL—STUDIO",18
client: "POWELL—STUDIO",19
description: "The online presence for Powell—Studio.",20
src: "powell.jpg",21
year: 2023,22
},23
...24
]
We can then work on the page component. It has the main title and will import the double component:
page.js
style.mo...
global.c...
1
import styles from './page.module.scss'2
import { projects } from '../data';3
import Double from '../components/double';4
5
export default function Home() {6
return (7
<main className={styles.main}>8
<h1>We use design and technology to create brands and products that perform, delight, and scale.</h1>9
<div className={styles.gallery}>10
{/* <Double projects={[projects[0], projects[1]]}/>11
<Double projects={[projects[2], projects[3]]} reversed={true}/>12
<Double projects={[projects[4], projects[5]]}/>13
<Double projects={[projects[6], projects[7]]} reversed={true}/> */}14
</div>15
</main>16
)17
}

The next step is to work on the Double component. It takes 2 projects as props and a boolean to know if the animation should be reversed on not.
componen...
Double/s...
1
'use client';2
import styles from './style.module.scss';3
import Image from 'next/image';4
import { useRef } from 'react';5
6
export default function Index({projects, reversed}) {7
8
const firstImage = useRef(null);9
const secondImage = useRef(null);10
11
return(12
<div className={styles.double}>13
14
<div ref={firstImage} className={styles.imageContainer}>15
<div className={styles.stretchyWrapper}>16
<Image17
src={`/images/${projects[0].src}`}18
fill={true}19
alt={"image"}20
/>21
</div>22
<div className={styles.body}>23
<h3>{projects[0].name}</h3>24
<p>{projects[0].description}</p>25
<p>{projects[0].year}</p>26
</div>27
</div>28
29
<div ref={secondImage} className={styles.imageContainer}>30
<div className={styles.stretchyWrapper}>31
<Image32
src={`/images/${projects[1].src}`}33
fill={true}34
alt={"image"}35
/>36
</div>37
<div className={styles.body}>38
<h3>{projects[1].name}</h3>39
<p>{projects[1].description}</p>40
<p>{projects[1].year}</p>41
</div>42
</div>43
44
</div>45
)46
}
Little explanation about the code above:
stretchyWrapper inside of them.To animate the images, we can get the xPercent of the mouse from the mouse move event.
Double/index.jsx
1
...2
export default function Index({projects, reversed}) {3
4
const firstImage = useRef(null);5
const secondImage = useRef(null);6
let xPercent = reversed ? 100 : 0;7
8
const manageMouseMove = (e) => {9
const { clientX } = e;10
xPercent = (clientX / window.innerWidth) * 100;11
12
const firstImagePercent = 66.66 - (xPercent * 0.33);13
const secondImagePercent = 33.33 + (xPercent * 0.33);14
firstImage.current.style.width = `${firstImagePercent}%`15
secondImage.current.style.width = `${secondImagePercent}%`16
}17
18
return(19
<div onMouseMove={(e) => {manageMouseMove(e)}} className={styles.double}>20
...21
The animation is essential done, but we I personnally would prefer it if it was smooth. Right now it kinda feels gittery and unpolished.
However, to make the animation smooth, we're going to complicate things quite a bit. We need to convert the animation into one that uses requestAnimationFrame instead of directly being triggered by a mouse move event. That way, we have more control over the animation.
Double/index.jsx
1
...2
export default function Index({projects, reversed}) {3
4
const firstImage = useRef(null);5
const secondImage = useRef(null);6
let requestAnimationFrameId = null;7
let xPercent = reversed ? 100 : 0;8
let currentXPercent = reversed ? 100 : 0;9
const speed = 0.15;10
11
const manageMouseMove = (e) => {12
const { clientX } = e;13
xPercent = (clientX / window.innerWidth) * 100;14
15
if(!requestAnimationFrameId){16
requestAnimationFrameId = window.requestAnimationFrame(animate);17
}18
}19
20
const animate = () => {21
//Add easing to the animation22
const xPercentDelta = xPercent - currentXPercent;23
currentXPercent = currentXPercent + (xPercentDelta * speed)24
25
//Change width of images between 33.33% and 66.66% based on cursor26
const firstImagePercent = 66.66 - (currentXPercent * 0.33);27
const secondImagePercent = 33.33 + (currentXPercent * 0.33);28
firstImage.current.style.width = `${firstImagePercent}%`29
secondImage.current.style.width = `${secondImagePercent}%`30
31
if(Math.round(xPercent) == Math.round(currentXPercent)){32
window.cancelAnimationFrame(requestAnimationFrameId);33
requestAnimationFrameId = null;34
}35
else{36
window.requestAnimationFrame(animate)37
}38
}39
40
return(41
<div onMouseMove={(e) => {manageMouseMove(e)}} className={styles.double}>42
...43
Explanation about the above code:
xPercent of the mouse, we delay it using a speed value to slow it down.xPercent and the currentXPercent (easing) are the approximately the same value, we stop the requestAnimationFrame.We're offically done with this animation!
Hope you liked this tutorial, very useful to know the little trick with the padding as well as knowing how to create an easing with the requestAnimationFrame!
-Oli
June 2, 2024
A website animation featuring an image distortion in a curved, using the sin function, React, React Three Fiber and Framer Motion

May 4, 2024
A website tutorial on making a paint reveal / erasing effect using the destination out blend mode of the canvas API, made with React and Next.js
March 8, 2024
A website tutorial featuring a moving cursor on mouse move, colored with CSS blend mode difference, made with React and GSAP. Inspired by https://trionn.com/