Initializing the project
Let's start the project by creating a Next.js application. We can do that by running npx create-next-app@latest client inside of a terminal.
We can delete everything in the page.js , global.css and page.module.css and add our own HTML and CSS, to start with a nice blank application.
- We will use Sass for the stylesheets, so we can run
npm i sass. - We will use Framer Motion for the animation, so we can run
npm i framer-motion. - We will also use GSAP for the animation, so we can run
npm i gsap. - We will use the Lenis Scroll for the smooth scrolling, so we can run
npm i @studio-freight/lenis.
GSAP vs Framer Motion
There are big debates about using GSAP and Framer Motion inside a React app. I think both are great and they have their respective strengths. I believe it depends on the project, even tho I slightly prefer Framer Motion for most cases when using React.
So in this tutorial I'll remake the same animations using both GSAP and Framer Motion, so you can draw your own conclusions.
Rendering the layout
The layout will be approximately the same for GSAP and Framer Motion, but it's not the focus of this tutorial so I'll go rapidely over it.
2
import styles from '../../app/page.module.scss';
3
import Picture1 from '../../../public/medias/1.jpg';
4
import Picture2 from '../../../public/medias/2.jpg';
5
import Picture3 from '../../../public/medias/3.jpg';
6
import Image from "next/image";
8
const word = "with gsap";
10
export default function Index() {
11
const images = [Picture1, Picture2, Picture3];
13
<div className={styles.container}>
14
<div className={styles.body}>
17
<div className={styles.word}>
20
word.split("").map((letter, i) => {
21
return <span key={`l_${i}`}>{letter}</span>
27
<div className={styles.images}>
29
images.map( (image, i) => {
30
return <div key={`i_${i}`} className={styles.imageContainer}>
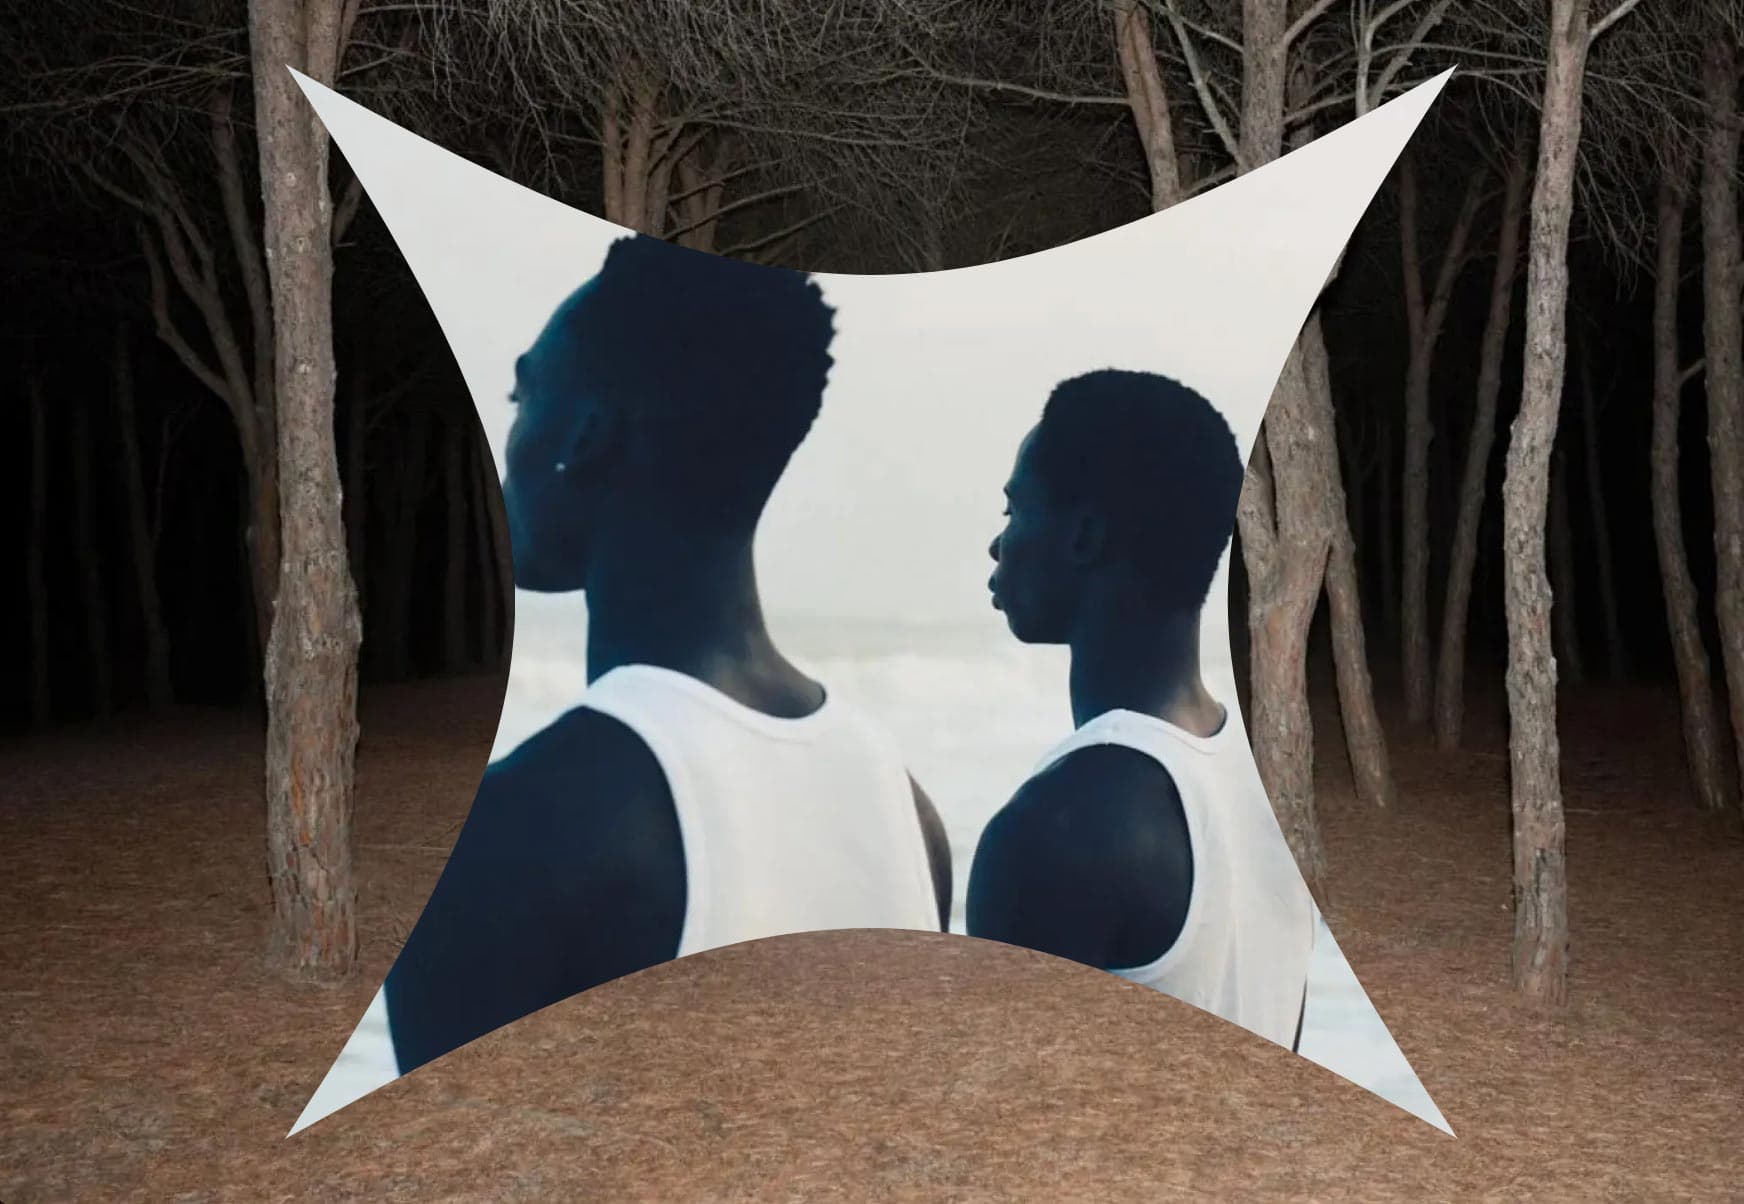
We should have something like this
Parallax with GSAP
Now that the layout is done, we can add in GSAP to create the parallax effect.
The first important thing with GSAP is to add a timeline and inside of it create a ScrollTrigger. There are multiple ways of doing this, but I find using a timeline is the cleanest way of doing it. That way you have a single ScrollTrigger instance for multiple animations.
GSAP Timeline with ScrollTrigger
1
const tl = gsap.timeline({
3
trigger: container.current,
Scrub: true is used to link the animations directly to the scrollbar
Then we can add all the different animations to the timeline.
1
tl.to(title1.current, {y: -50}, 0)
4
lettersRef.current.forEach((letter, i) => {
6
top: Math.floor(Math.random() * -75) - 25,
- The
0 is added as a parameter to specify that the animations inside the timeline should happen at the same time.
Putting it all together
2
import { useLayoutEffect, useRef } from "react";
3
import styles from '../../app/page.module.scss';
4
import gsap from 'gsap';
5
import { ScrollTrigger } from 'gsap/ScrollTrigger';
6
import Picture1 from '../../../public/medias/1.jpg';
7
import Picture2 from '../../../public/medias/2.jpg';
8
import Picture3 from '../../../public/medias/3.jpg';
9
import Image from "next/image";
10
gsap.registerPlugin(ScrollTrigger)
12
const word = "with gsap";
13
const images = [Picture1, Picture2, Picture3];
15
export default function Index() {
16
const container = useRef(null);
17
const title1 = useRef(null);
18
const lettersRef = useRef([])
19
const imagesRef = useRef([])
21
useLayoutEffect( () => {
22
const context = gsap.context( () => {
23
const tl = gsap.timeline({
25
trigger: container.current,
31
.to(title1.current, {y: -50}, 0)
32
.to(imagesRef.current[1], {y: -150}, 0)
33
.to(imagesRef.current[2], {y: -255}, 0)
34
lettersRef.current.forEach((letter, i) => {
36
top: Math.floor(Math.random() * -75) - 25,
41
return () => context.revert();
45
<div ref={container} className={styles.container}>
46
<div className={styles.body}>
47
<h1 ref={title1}>Parallax</h1>
49
<div className={styles.word}>
52
word.split("").map((letter, i) => {
53
return <span key={`l_${i}`} ref={el => lettersRef.current[i] = el}>{letter}</span>
59
<div className={styles.images}>
61
images.map( (image, i) => {
62
return <div key={`i_${i}`} ref={el => imagesRef.current[i] = el} className={styles.imageContainer}>
- Here I'm using the
useLayoutEffect because it is executed before the DOM is painted, in most cases that's what you want when creating a GSAP animation to avoid flashes. - I'm also using the
gsap.context to collect all animations in one place that I can then kill in the return function of the useLayoutEffect.
We should have something like this
Parallax with Framer Motion
Now I'll do the same thing but Framer Motion. it's quite similar to the GSAP implementation, I don't have a clear winner but I do believe the Framer Motion implementation is a bit more clean and readable.
The first thing we need to use is the useScroll hook:
1
const { scrollYProgress } = useScroll({
3
offset: ['start end', 'end start']
- Here we can track the position of the target inside the window. The
scrollYProgress is a value between 0 and 1 depending on that progress.
Then we can use the useTransform hook to transform the value of the scrollYProgress into another value.
1
const sm = useTransform(scrollYProgress, [0, 1], [0, -50]);
- Here
sm will be 0 when the scrollYProgress is 0. It will be 50 when the scrollYProgress is 1. It will also take all the values in between those two values.
Putting it all together
2
import { useRef } from "react";
3
import styles from '../../app/page.module.scss';
4
import Picture1 from '../../../public/medias/4.jpg';
5
import Picture2 from '../../../public/medias/5.jpg';
6
import Picture3 from '../../../public/medias/6.jpg';
7
import Image from "next/image";
8
import { motion, useScroll, useTransform } from 'framer-motion';
10
const word = "with framer-motion";
12
export default function Index() {
13
const container = useRef(null);
14
const { scrollYProgress } = useScroll({
16
offset: ['start end', 'end start']
18
const sm = useTransform(scrollYProgress, [0, 1], [0, -50]);
19
const md = useTransform(scrollYProgress, [0, 1], [0, -150]);
20
const lg = useTransform(scrollYProgress, [0, 1], [0, -250]);
38
<div ref={container} className={styles.container}>
39
<div className={styles.body}>
40
<motion.h1 style={{y: sm}}>Parallax</motion.h1>
42
<div className={styles.word}>
45
word.split("").map((letter, i) => {
46
const y = useTransform(scrollYProgress, [0, 1], [0, Math.floor(Math.random() * -75) - 25])
47
return <motion.span style={{top: y}} key={`l_${i}`} >{letter}</motion.span>
53
<div className={styles.images}>
55
images.map( ({src, y}, i) => {
56
return <motion.div style={{y}} key={`i_${i}`} className={styles.imageContainer}>
We should have something like this:
Wrapping up
That's it for this animation!
Hope you liked the comparison between the two libraries. I find it useful to see how two identical animations can be made with 2 different libraries when having to make a choice between them.
-Oli


