Mouse Image Distortion
A website animation featuring an image distortion in a curved, using the sin function, React, React Three Fiber and Framer Motion

Mask Section Transition
New
Background Image Parallax
New
Text Parallax
New
Sticky Footer
Perspective Section Transition
Text Along Path
SVG Path On Scroll
Horizontal Section
Zoom Parallax
Parallax Scroll
Horizontal Scroll
Text Gradient Scroll Opacity v2
Cards Parallax
3D perspective Scroll
SVG Mask Scroll
Smooth Parallax Scroll
Smooth Scroll
Pixel Transition
SVG Morph
Sliding Stairs Menu
Floating Image Gallery
Project Gallery Mouse Hover
Text Gradient Opacity On Scroll
Svg Curve Loading
Text Clip Mask On Scroll
Image slide project gallery
Mouse Image Gallery
Pixel Cursor Trailing
Text Mask Animation
3D Perspective Text
Project Gallery Colored Card
Cartoon Cursor Trailing

Olivier Larose
March 24, 2023
/
Beginner
/
Short
A cartoonish mouse trailing animation, made with React in a Next.js environment.
Live DemoSource codeVideo Tutorial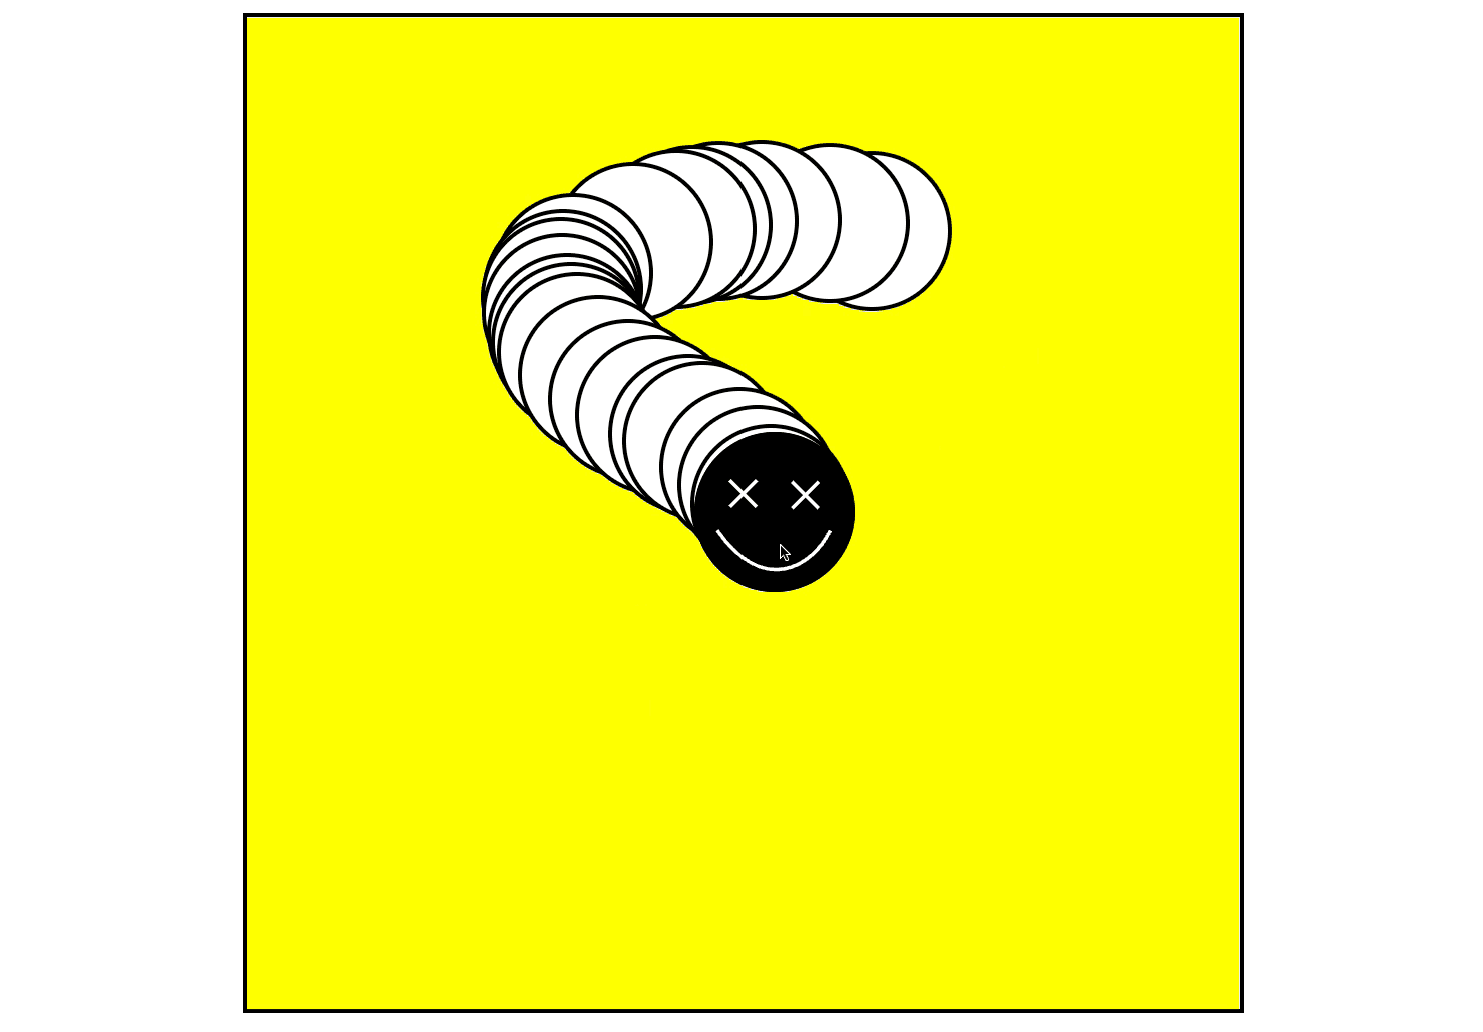
Let's start the project by creating a Next.js application. We can do that by running npx create-next-app@13.2.4 myApp inside of a terminal.
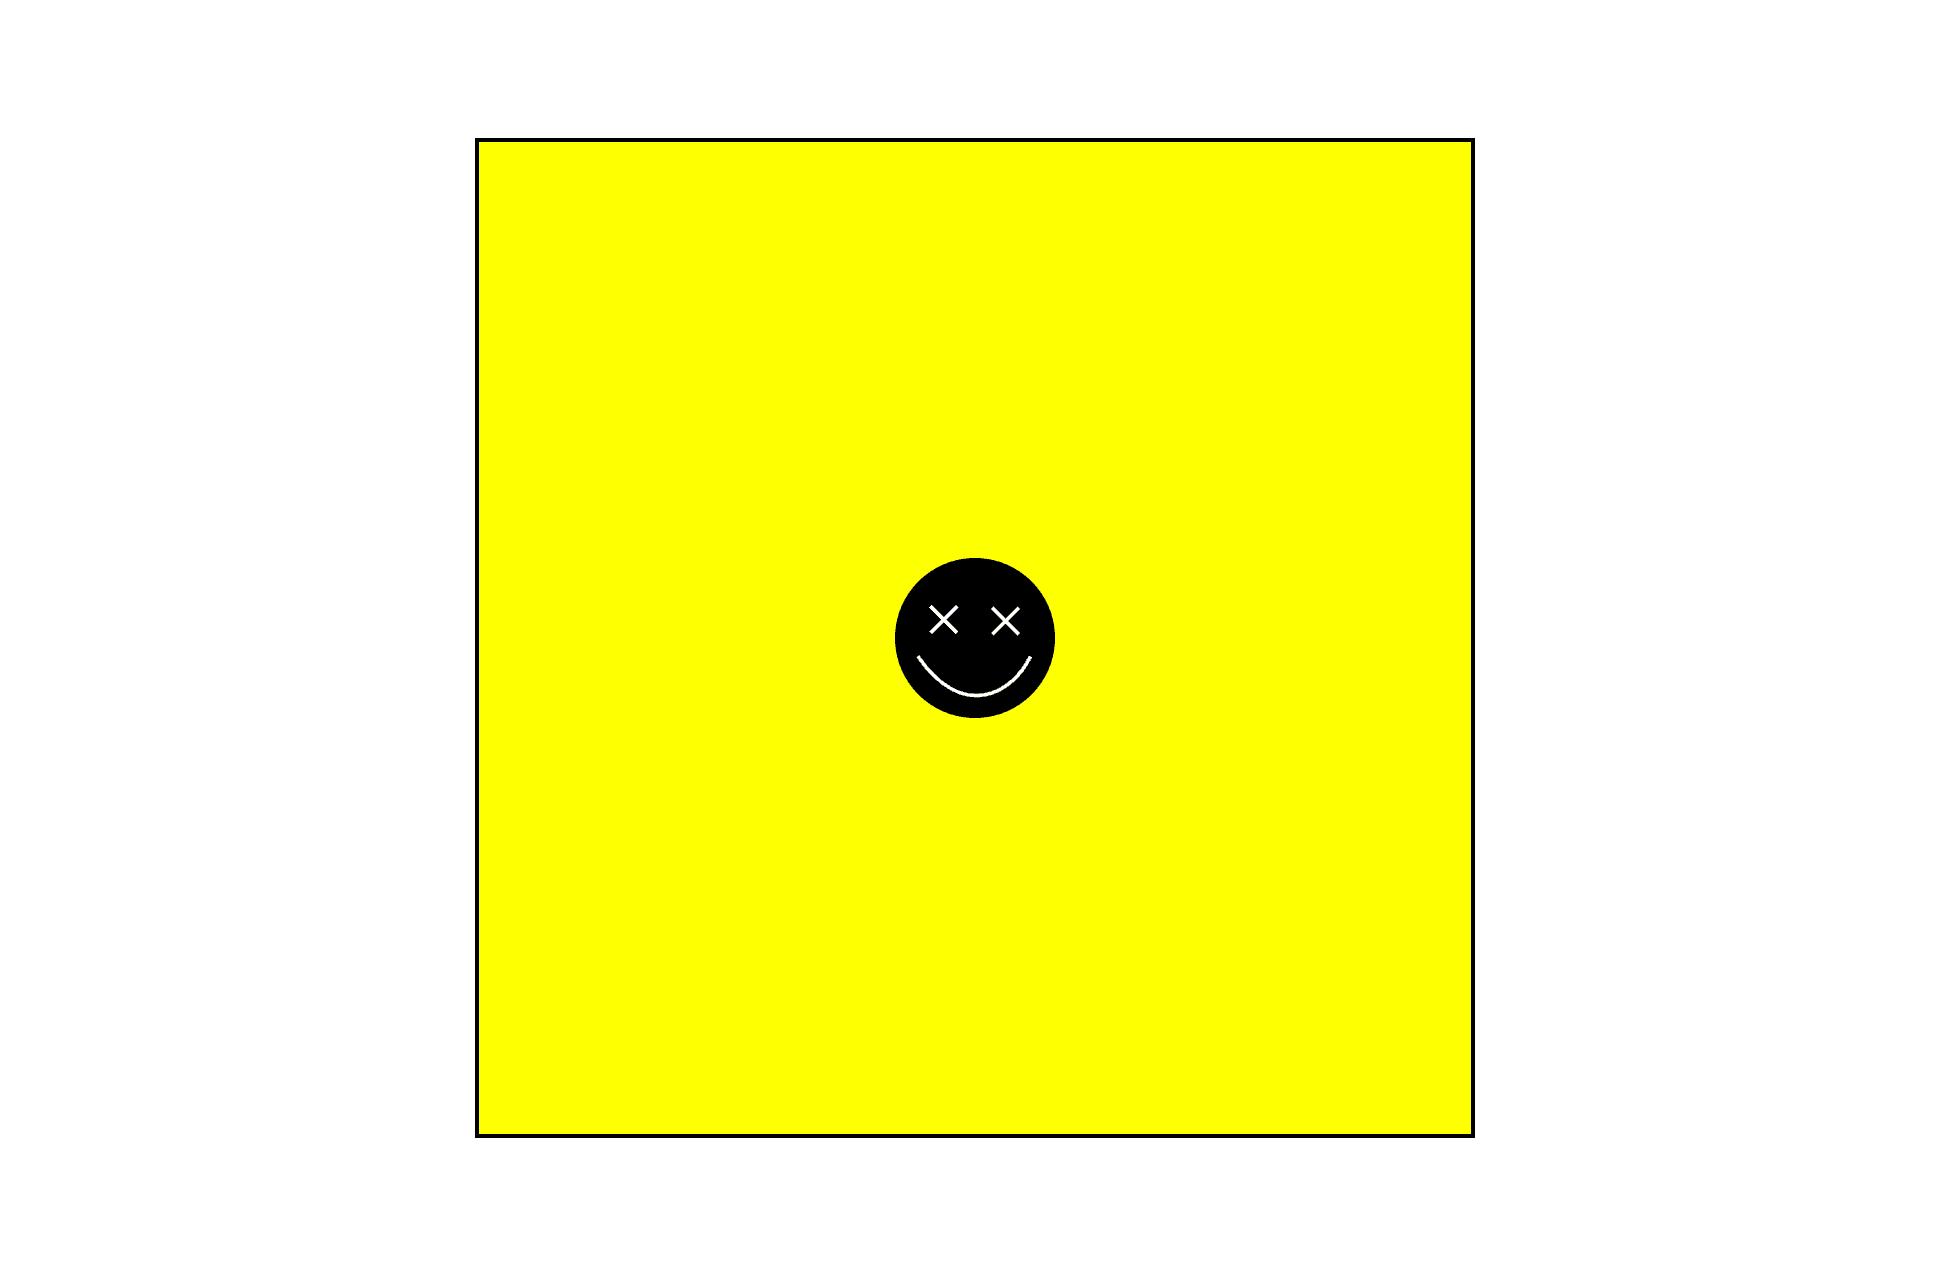
Let's also create an /images folder inside of the /public folder and add the smiley image, you can add whatever image you'd like or found the one I used here.
We can delete everything in the index.js and add our own HTML and CSS.
For the CSS, we're going to use CSS Module, so make sure to create a Home.module.css file inside of the styles folder. Thankfully, Next.js has built-in support for CSS Modules
Index.js
Home.mod...
1
import styles from '../styles/Home.module.css'2
3
export default function Home() {4
return (5
<div className={styles.main}>6
<div className={styles.container}>7
<img className={styles.img} src="/images/smiley.svg"></img>8
</div>9
</div>10
)11
}12
To create a trailing effect, it's going to be pretty easy. We'll detect the mouse movement and add a new div represening a circle at the cursor's position.
ref to the image and the container.OnMouseMove event on the container.div element using Javascript and add it as a child of the container.top and left property of the image to move it.Index.js
Home.mod...
1
...2
3
const container = useRef();4
const img = useRef();5
6
const manageMouseMove = (event) => {7
const { clientX, clientY } = event8
const containerPosition = container.current.getBoundingClientRect();9
const x = clientX - containerPosition.x10
const y = clientY - containerPosition.y11
img.current.style.top = y + "px";12
img.current.style.left = x + "px";13
draw(x, y)14
}15
16
const draw = (x, y) => {17
const div = document.createElement("div");18
div.classList.add(styles['circle']);19
div.style.top = y + "px";20
div.style.left = x + "px";21
container.current.append(div);22
}23
24
return (25
<div className={styles.main}>26
<div ref={container} onMouseMove={(e) => {manageMouseMove(e)}} className={styles.container}>27
<img ref={img} className={styles.img} src="/images/smiley.svg"></img>28
</div>29
</div>30
)
Now that we have a nice trailing animation, we can add a final touch by removing some of the divs incrementely. It will also help the performance of the animation.
Here's the two ways we're going to remove the trail:
1
...2
3
const draw = (x, y) => {4
...5
container.current.append(div);6
7
if(container.current.childNodes.length > 25){8
erase();9
}10
else{11
setTimeout( () => {12
erase();13
}, 1500)14
}15
}16
17
const erase = () => {18
container.current.removeChild(container.current.childNodes[1])19
}20
A nice little cartoonish trail animation made in less than 50 lines of codes. Nice to know that we can simply create new divs and dynamically style them with css, while keeping great performance.
Hope you learned a lot :)
-Oli
June 2, 2024
A website animation featuring an image distortion in a curved, using the sin function, React, React Three Fiber and Framer Motion

May 4, 2024
A website tutorial on making a paint reveal / erasing effect using the destination out blend mode of the canvas API, made with React and Next.js
March 8, 2024
A website tutorial featuring a moving cursor on mouse move, colored with CSS blend mode difference, made with React and GSAP. Inspired by https://trionn.com/