Mouse Image Distortion
A website animation featuring an image distortion in a curved, using the sin function, React, React Three Fiber and Framer Motion

Mask Section Transition
New
Background Image Parallax
New
Text Parallax
New
Sticky Footer
Perspective Section Transition
Text Along Path
SVG Path On Scroll
Horizontal Section
Zoom Parallax
Parallax Scroll
Horizontal Scroll
Text Gradient Scroll Opacity v2
Cards Parallax
3D perspective Scroll
SVG Mask Scroll
Smooth Parallax Scroll
Smooth Scroll
Pixel Transition
SVG Morph
Sliding Stairs Menu
Floating Image Gallery
Project Gallery Mouse Hover
Text Gradient Opacity On Scroll
Svg Curve Loading
Text Clip Mask On Scroll
Image slide project gallery
Mouse Image Gallery
Pixel Cursor Trailing
Text Mask Animation
3D Perspective Text
Project Gallery Colored Card
Cartoon Cursor Trailing

Olivier Larose
July 9, 2023
/
Beginner
/
Short
A website tutorial on how to make a floating image gallery using Nextjs and GSAP. It's an animaiton where images move with the movement of the cursor using gsap.
Live DemoSource codeVideo Tutorial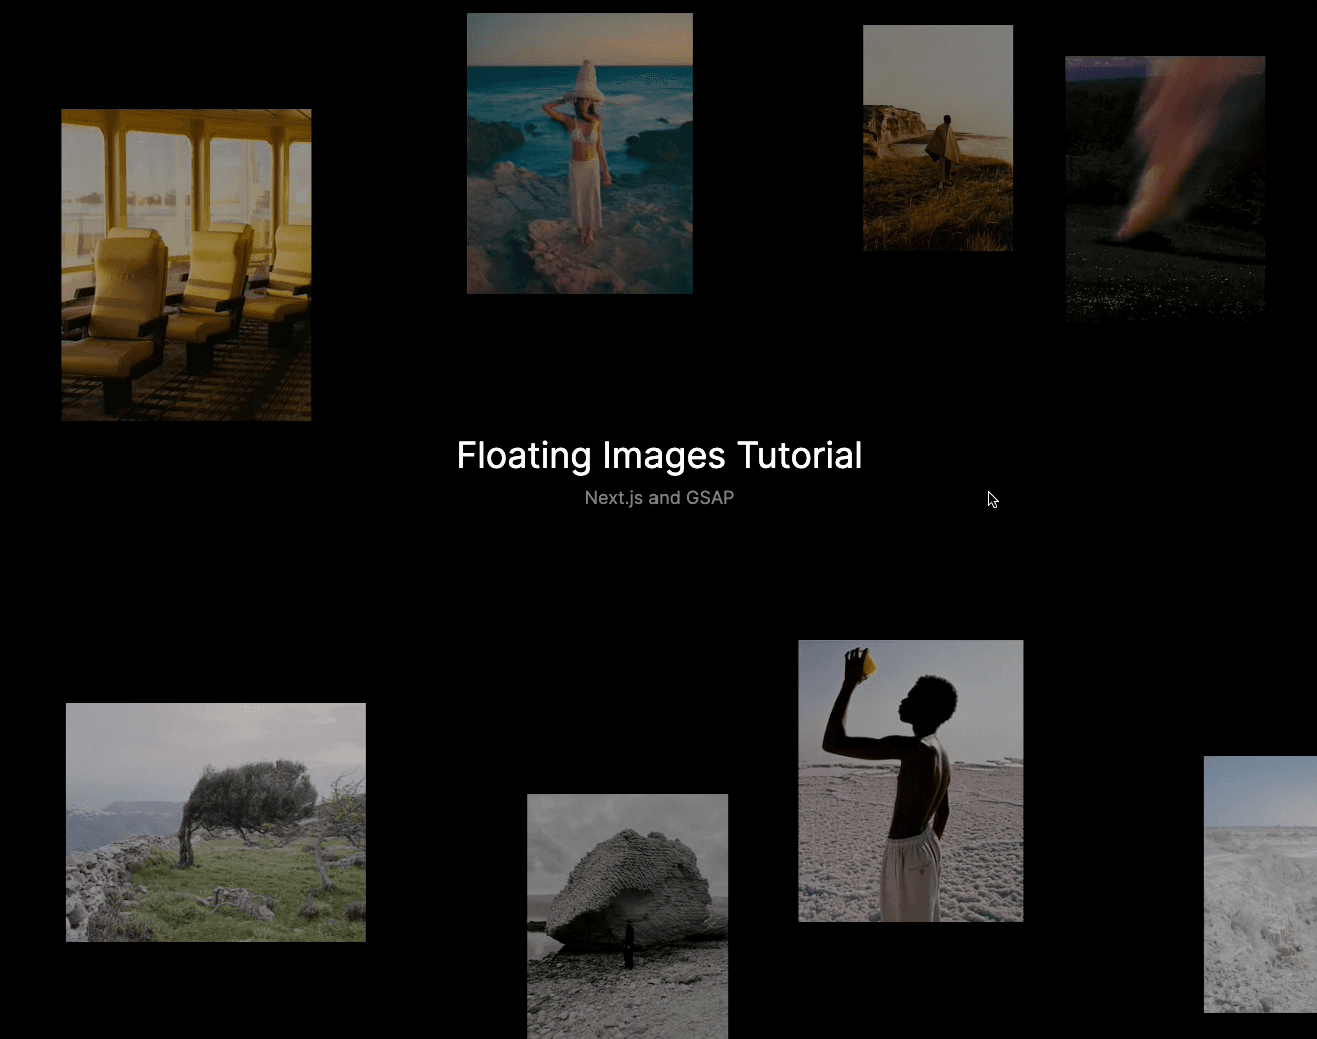
Let's start the project by creating a Next.js application. We can do that by running npx create-next-app@latest client inside of a terminal.
We can delete everything in the page.js , global.css and page.module.css and add our own HTML and CSS, to start with a nice blank application.
npm i sass.We're going to render the images using the next/image. Since we want to use the natural aspect ratio of the images (we're going to specify the width and let the height be auto), we need to staticaly import them.
src/data.js
1
import floating1 from '../public/images/floating_1.jpg';2
import floating2 from '../public/images/floating_2.jpg';3
import floating3 from '../public/images/floating_3.jpg';4
import floating4 from '../public/images/floating_4.jpg';5
import floating5 from '../public/images/floating_5.jpg';6
import floating6 from '../public/images/floating_6.jpg';7
import floating7 from '../public/images/floating_7.jpg';8
import floating8 from '../public/images/floating_8.jpg';9
10
export {11
floating1,12
floating2,13
floating3,14
floating4,15
floating5,16
floating6,17
floating7,18
floating819
}
We can then import the data in a cleaner fashion and create the title of the page.
page.js
page.mod...
globals....
1
import styles from './page.module.scss'2
import {3
floating1,4
floating2,5
floating3,6
floating4,7
floating5,8
floating6,9
floating7,10
floating811
} from '../data'12
13
export default function Home() {14
15
return (16
<main className={styles.main}>17
<div className={styles.title}>18
<h1>Floating Images Gallery</h1>19
<p>Next.js and GSAP</p>20
</div>21
</main>22
)23
}

To animate the images, we're actually not going to directly change their position. Instead we will change the position of their parent (div). That way, we have a more performance optimized animaiton.
We will have 3 main divs called plane:
page.js
page.mod...
1
'use client';2
import Image from 'next/image';3
import { useRef } from 'react';4
5
export default function Home() {6
7
const plane1 = useRef(null);8
const plane2 = useRef(null);9
const plane3 = useRef(null);10
11
return (12
<main className={styles.main}>13
<div ref={plane1} className={styles.plane}>14
<Image15
src={floating1}16
alt='image'17
width={300}18
/>19
<Image20
src={floating2}21
alt='image'22
width={300}23
/>24
<Image25
src={floating7}26
alt='image'27
width={225}28
/>29
</div>30
<div ref={plane2} className={styles.plane}>31
<Image32
src={floating4}33
alt='image'34
width={250}35
/>36
<Image37
src={floating6}38
alt='image'39
width={200}40
/>41
<Image42
src={floating8}43
alt='image'44
width={225}45
/>46
</div>47
<div ref={plane3} className={styles.plane}>48
<Image49
src={floating3}50
alt='image'51
width={150}52
/>53
<Image54
src={floating5}55
alt='image'56
width={200}57
/>58
</div>59
...60
</main>61
)62
}

Like I said earlier, I'm not directly changing the position of the images but rather their parent:
We're also going to use the Linear Interpolation to create the easing:
Linear interpolation is a key concept in animations. It is often used by motion designers, but we can also use it for web animations! In short, it is form of interpolation, which involves the generation of new values based on an existing set of values

Lerp in Javascript
1
let value = 10;2
3
const lerp = (x, y, a) => x * (1 - a) + y * a4
value = lerp(value, 0, 0.1);5
6
console.log(value)7
//9
x: The value we want to interpolate from (start)y: The target value we want to interpolate to (end)a: The amount by which we want x to be closer to y.Great. Now we can jump in the code and understand exactly what's going on.
page.js
1
...2
export default function Home() {3
4
const plane1 = useRef(null);5
const plane2 = useRef(null);6
const plane3 = useRef(null);7
let requestAnimationFrameId = null;8
let xForce = 0;9
let yForce = 0;10
const easing = 0.08;11
const speed = 0.01;12
13
const manageMouseMove = (e) => {14
const { movementX, movementY } = e15
xForce += movementX * speed;16
yForce += movementY * speed;17
18
if(requestAnimationFrameId == null){19
requestAnimationFrameId = requestAnimationFrame(animate);20
}21
}22
23
const lerp = (start, target, amount) => start * (1 - amount) +target * amount;24
25
const animate = () => {26
xForce = lerp(xForce, 0, easing);27
yForce = lerp(yForce, 0, easing);28
gsap.set(plane1.current, {x: `+=${xForce}`, y: `+=${yForce}`})29
gsap.set(plane2.current, {x: `+=${xForce * 0.5}`, y: `+=${yForce * 0.5}`})30
gsap.set(plane3.current, {x: `+=${xForce * 0.25}`, y: `+=${yForce * 0.25}`})31
32
if(Math.abs(xForce) < 0.01) xForce = 0;33
if(Math.abs(yForce) < 0.01) yForce = 0;34
35
if(xForce != 0 || yForce != 0){36
requestAnimationFrame(animate);37
}38
else{39
cancelAnimationFrame(requestAnimationFrameId)40
requestAnimationFrameId = null;41
}42
}43
44
return (45
<main onMouseMove={(e) => {manageMouseMove(e)}} className={styles.main}>46
...47
Couple notes about the code above:
We're offically done with this animation!
That was it for this animation! Very quick but a very nice end result. Also interesting to know how to use the lerp to create an easing inside a requestAnimationFrame.
-Oli
June 2, 2024
A website animation featuring an image distortion in a curved, using the sin function, React, React Three Fiber and Framer Motion

May 4, 2024
A website tutorial on making a paint reveal / erasing effect using the destination out blend mode of the canvas API, made with React and Next.js
March 8, 2024
A website tutorial featuring a moving cursor on mouse move, colored with CSS blend mode difference, made with React and GSAP. Inspired by https://trionn.com/